There are many reasons why your radiators may need draining. Whether it be for painting the wall behind, or to simply give it that routine maintenance check to get rid of sludge and grime.
In this blog, our Bathroom Takeaway team has compiled the perfect step by step guide on how to drain a radiator effectively to get your radiators back to performing their best.
Grab Your Tools
Before we get into the step by step guide on how to drain a radiator system you must gather together these essential tools:
- 2 containers to catch water
- Towels to wipe up any water
- Pen and paper (to record the lock shield setting)
- Pair of pliers/grips to loosen any nuts
- Radiator bleed key
- Gloves
- Adhesive tape
- Bin bag for any rubbish
Now you have got all the essential equipment, let's get into how to drain a radiator without draining the system.
How To Drain Your Radiator Step By Step
1.Turn Your Heating Off
The most essential first step when learning how to drain a single radiator is to turn off the heating. Then allow plenty of time for the radiator to cool down to prevent scalding.
Next, prepare your space with your containers and towels for any spillages. There are 2 entrances into a radiator in which the water flows. So putting a container or bucket under these will help catch any water that will spill out.
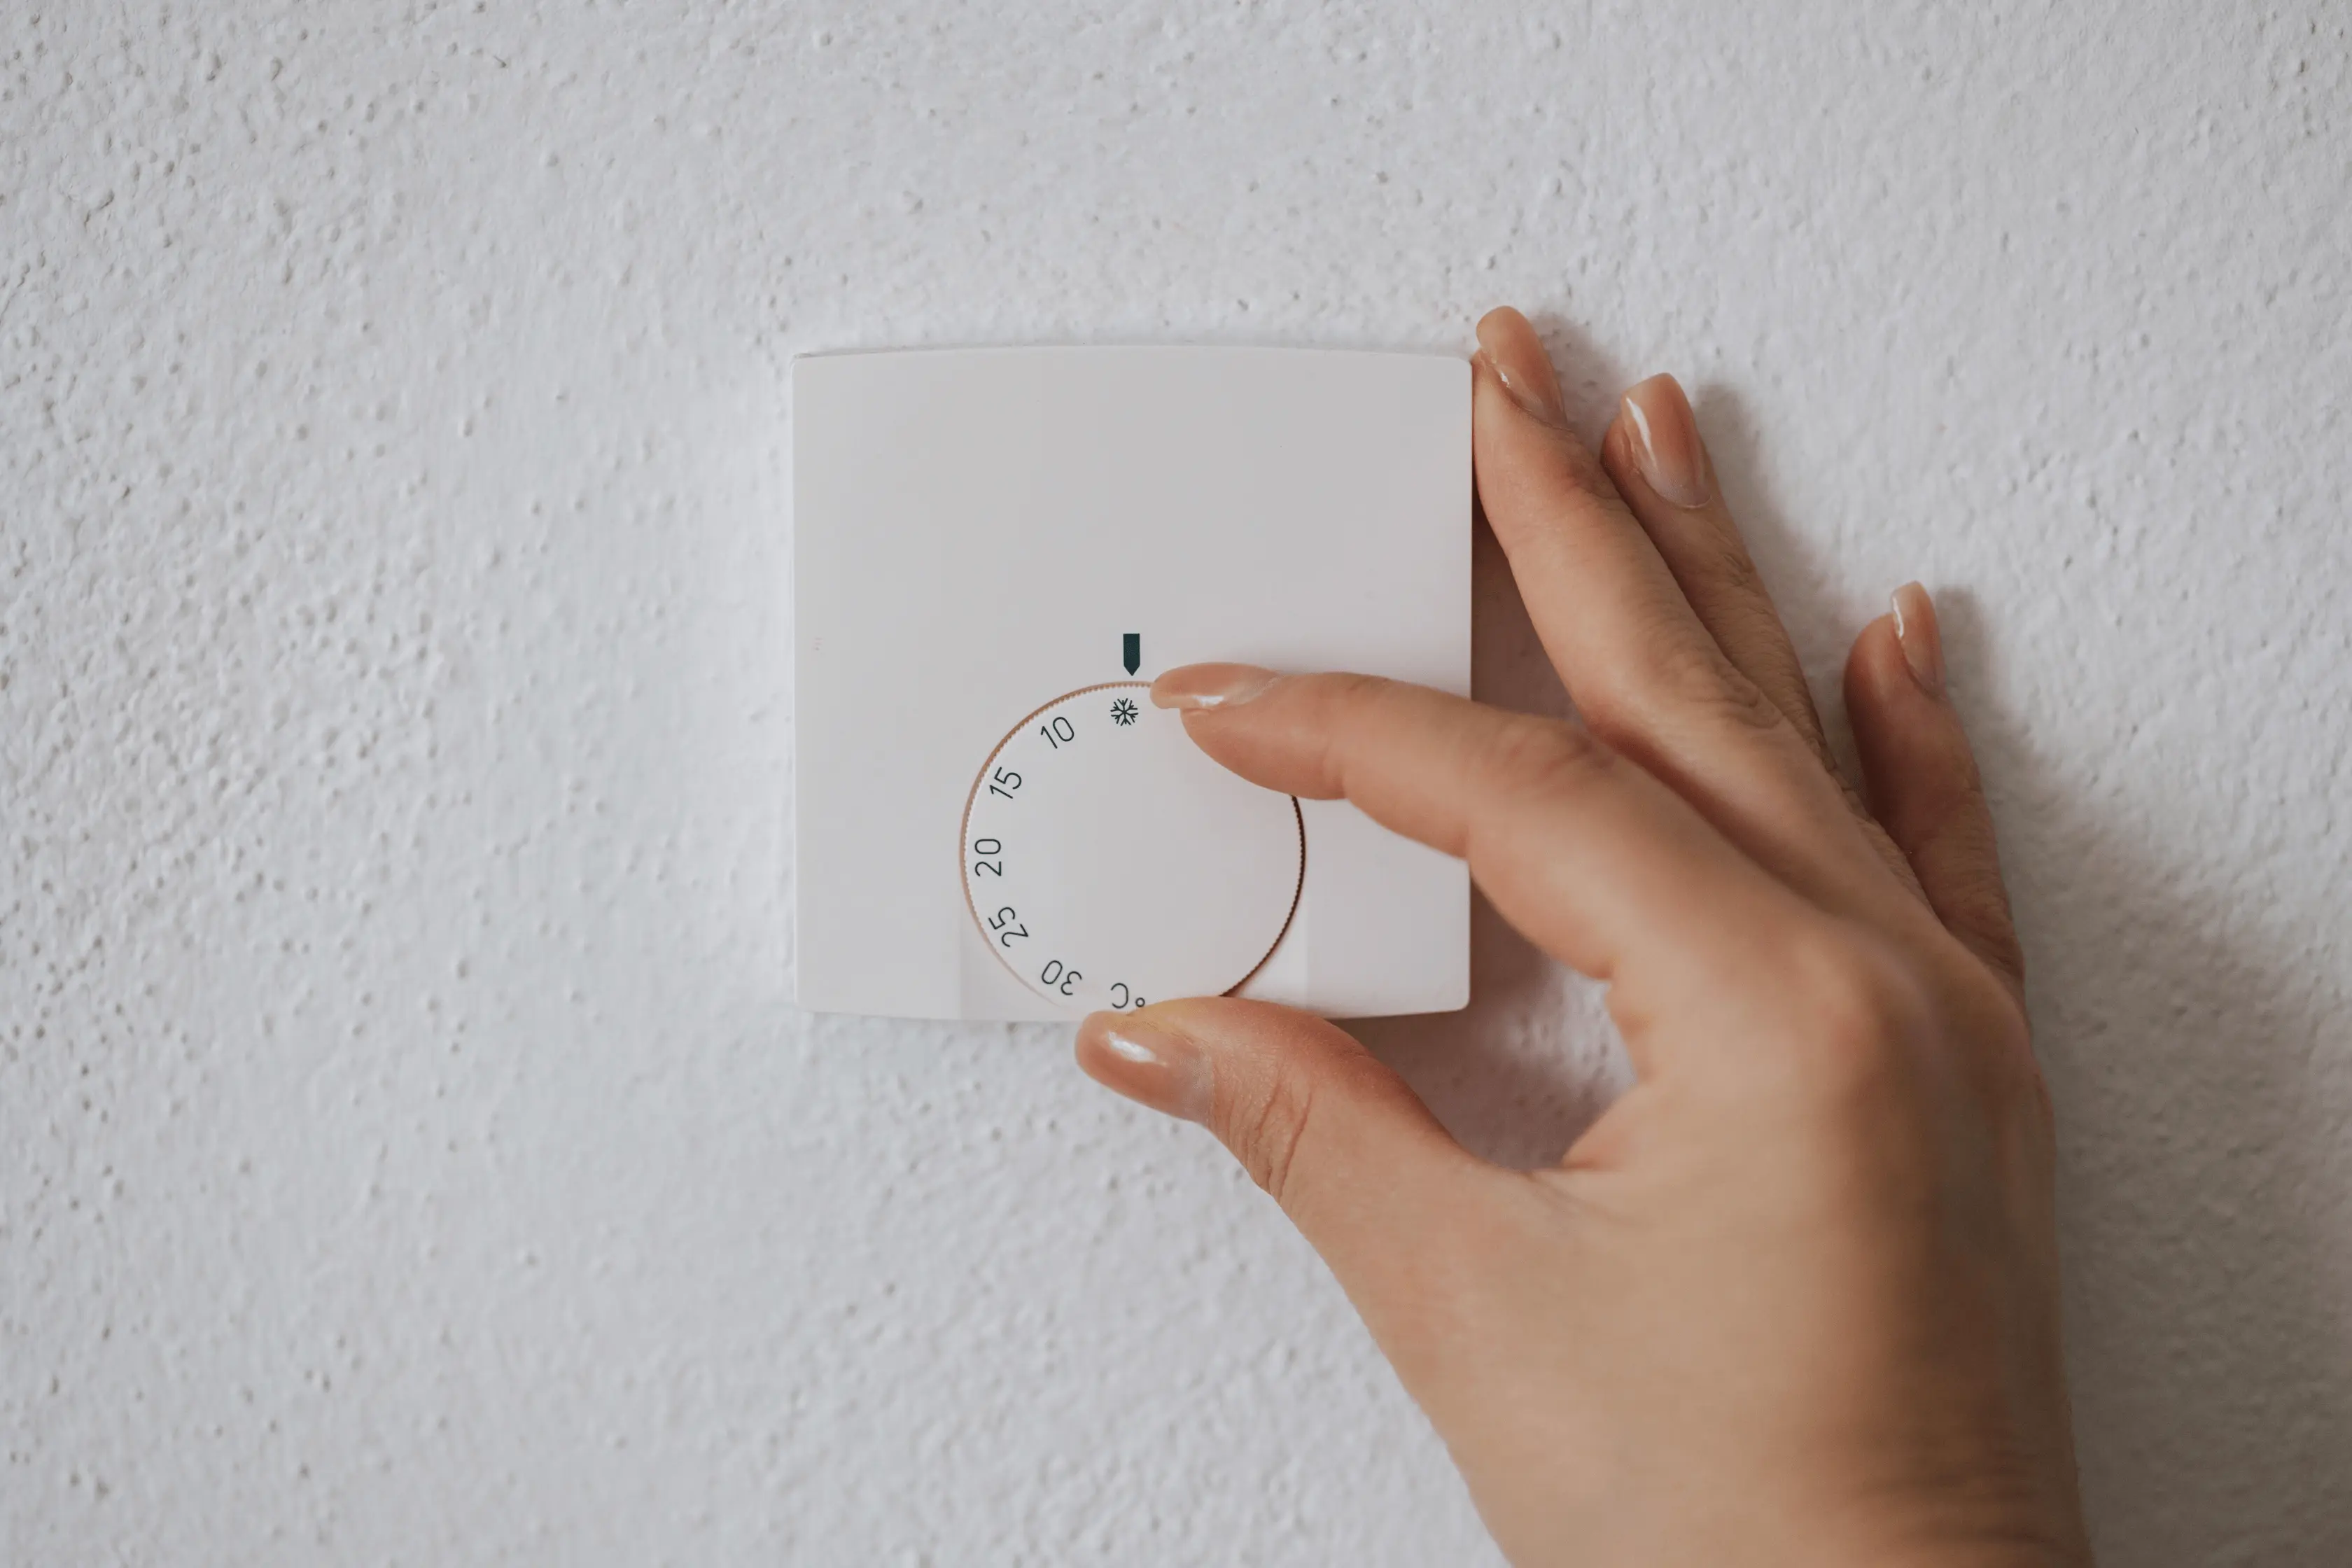
2. Shut The Thermostatic Radiator Valve
The thermostatic radiator valve automatically regulates the room temperature. You can manually adjust the valve to increase or decrease the radiator's heat output.
To completely shut off the thermostatic radiator valve, turn the valve until the reading reaches zero.
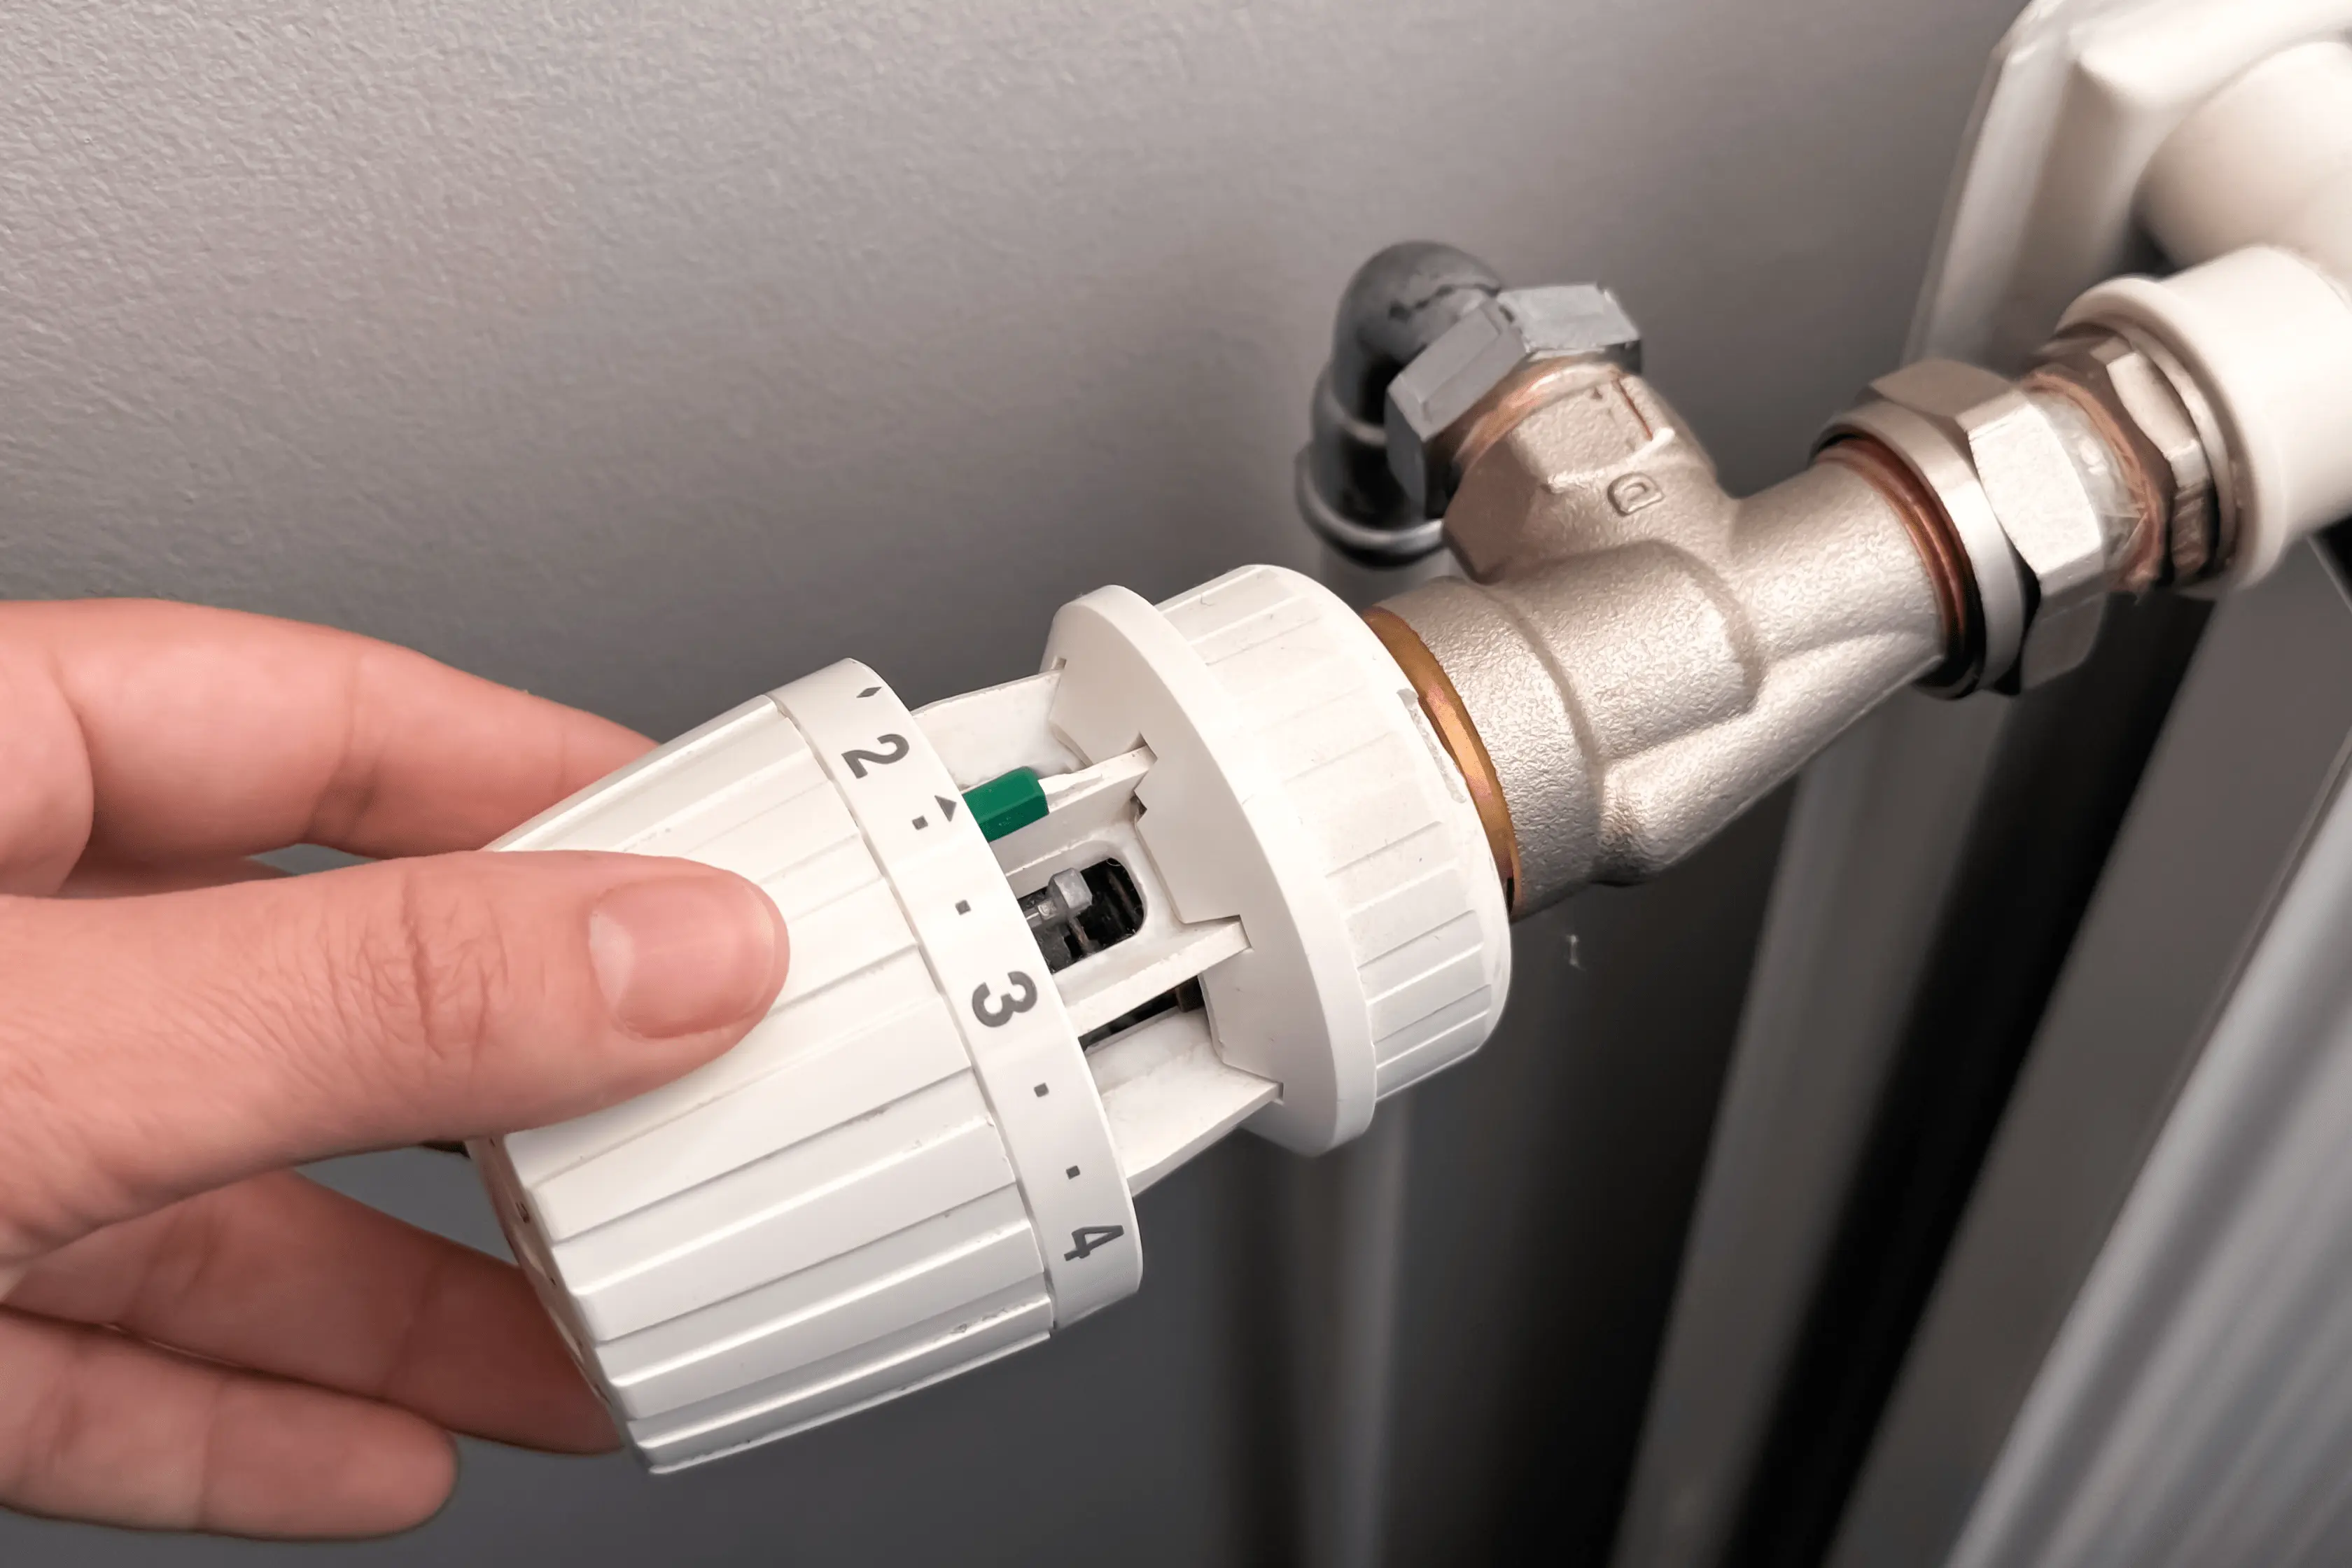
3. Close The Lockshield Valve
The lockshield valve, typically covered by a plastic cap, is located on the opposite side of the radiator.
To shut off the valve, first remove the plastic cap. Then, using pliers or a water pump pliers tool, turn the valve clockwise until it is completely closed.
Be sure to count the number of turns, so you can return the valve to the same position later and maintain the proper system balance.
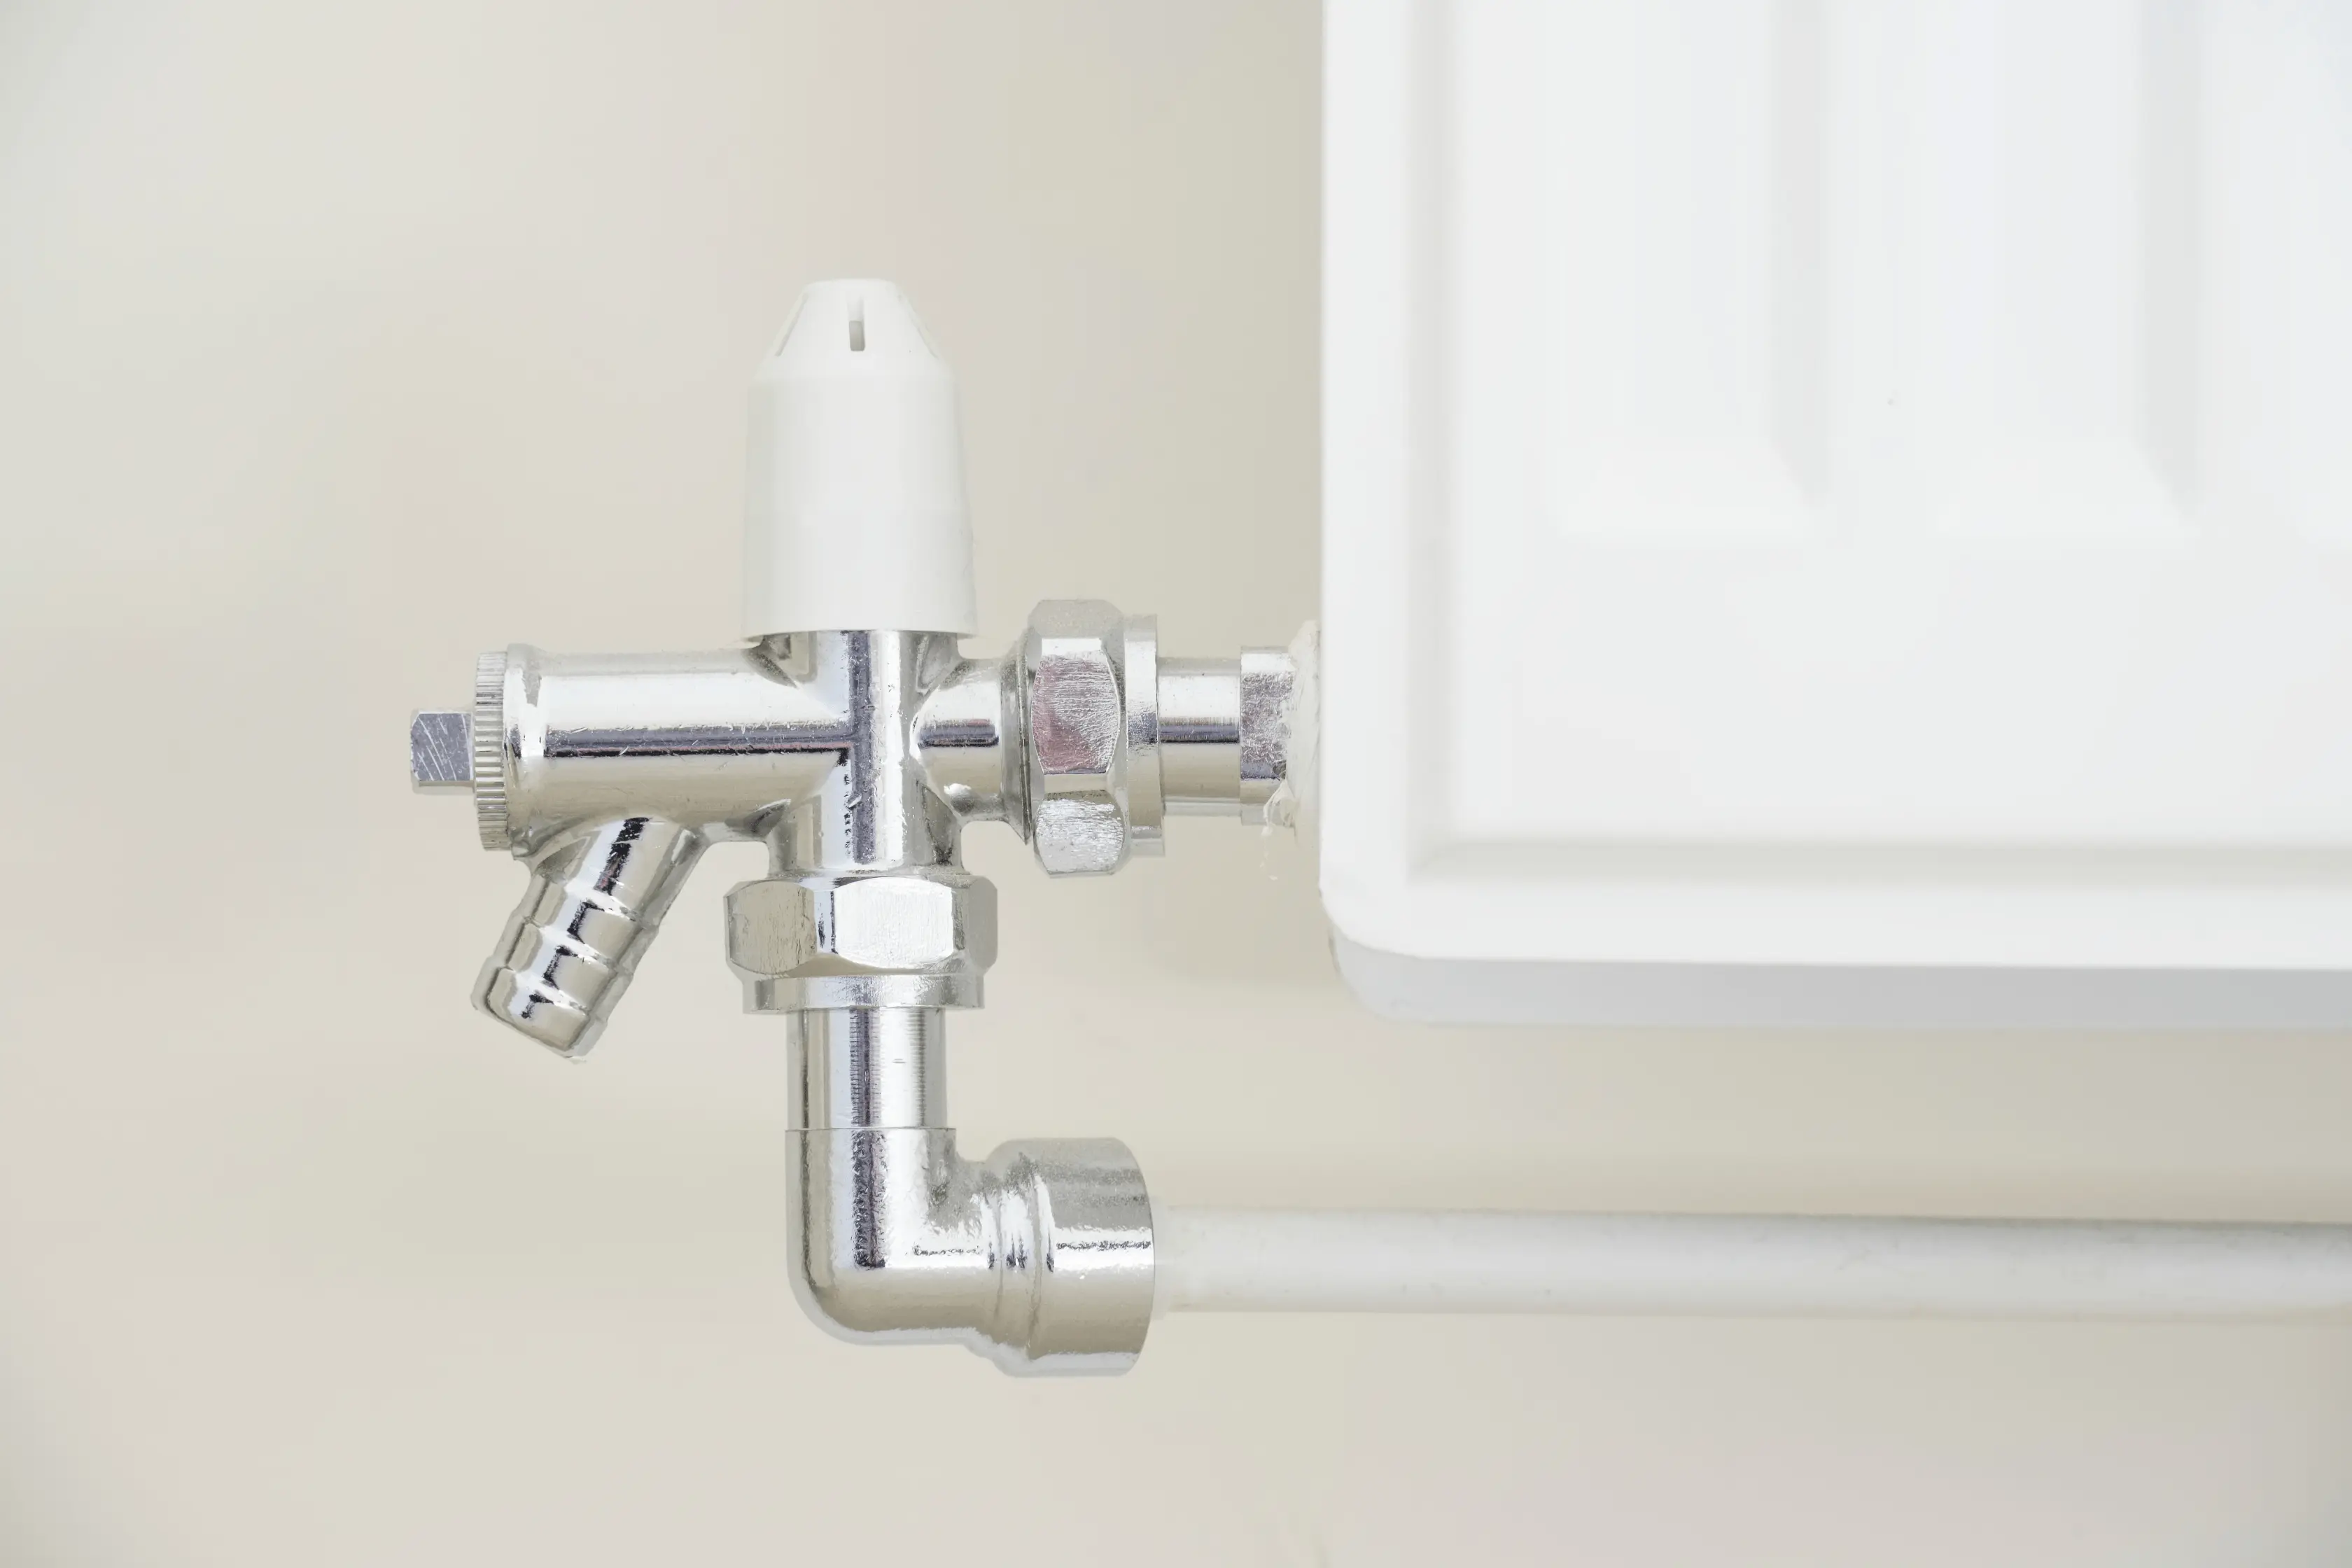
4. Loosen The Thermostatic Radiator Valve Nut
Before disconnecting the radiator, ensure both valves are fully closed. Be cautious when using pliers or grips, as they may scratch or damage the pipes' finish. To prevent this, wrap the pipes with tape before proceeding with the disconnection.
Use pliers or grips to hold the valve in place, preventing it from moving. Then, with a spanner, loosen the nut connecting the valve to the radiator.
When the radiator begins to leak, ensure a bucket is positioned to collect the water.
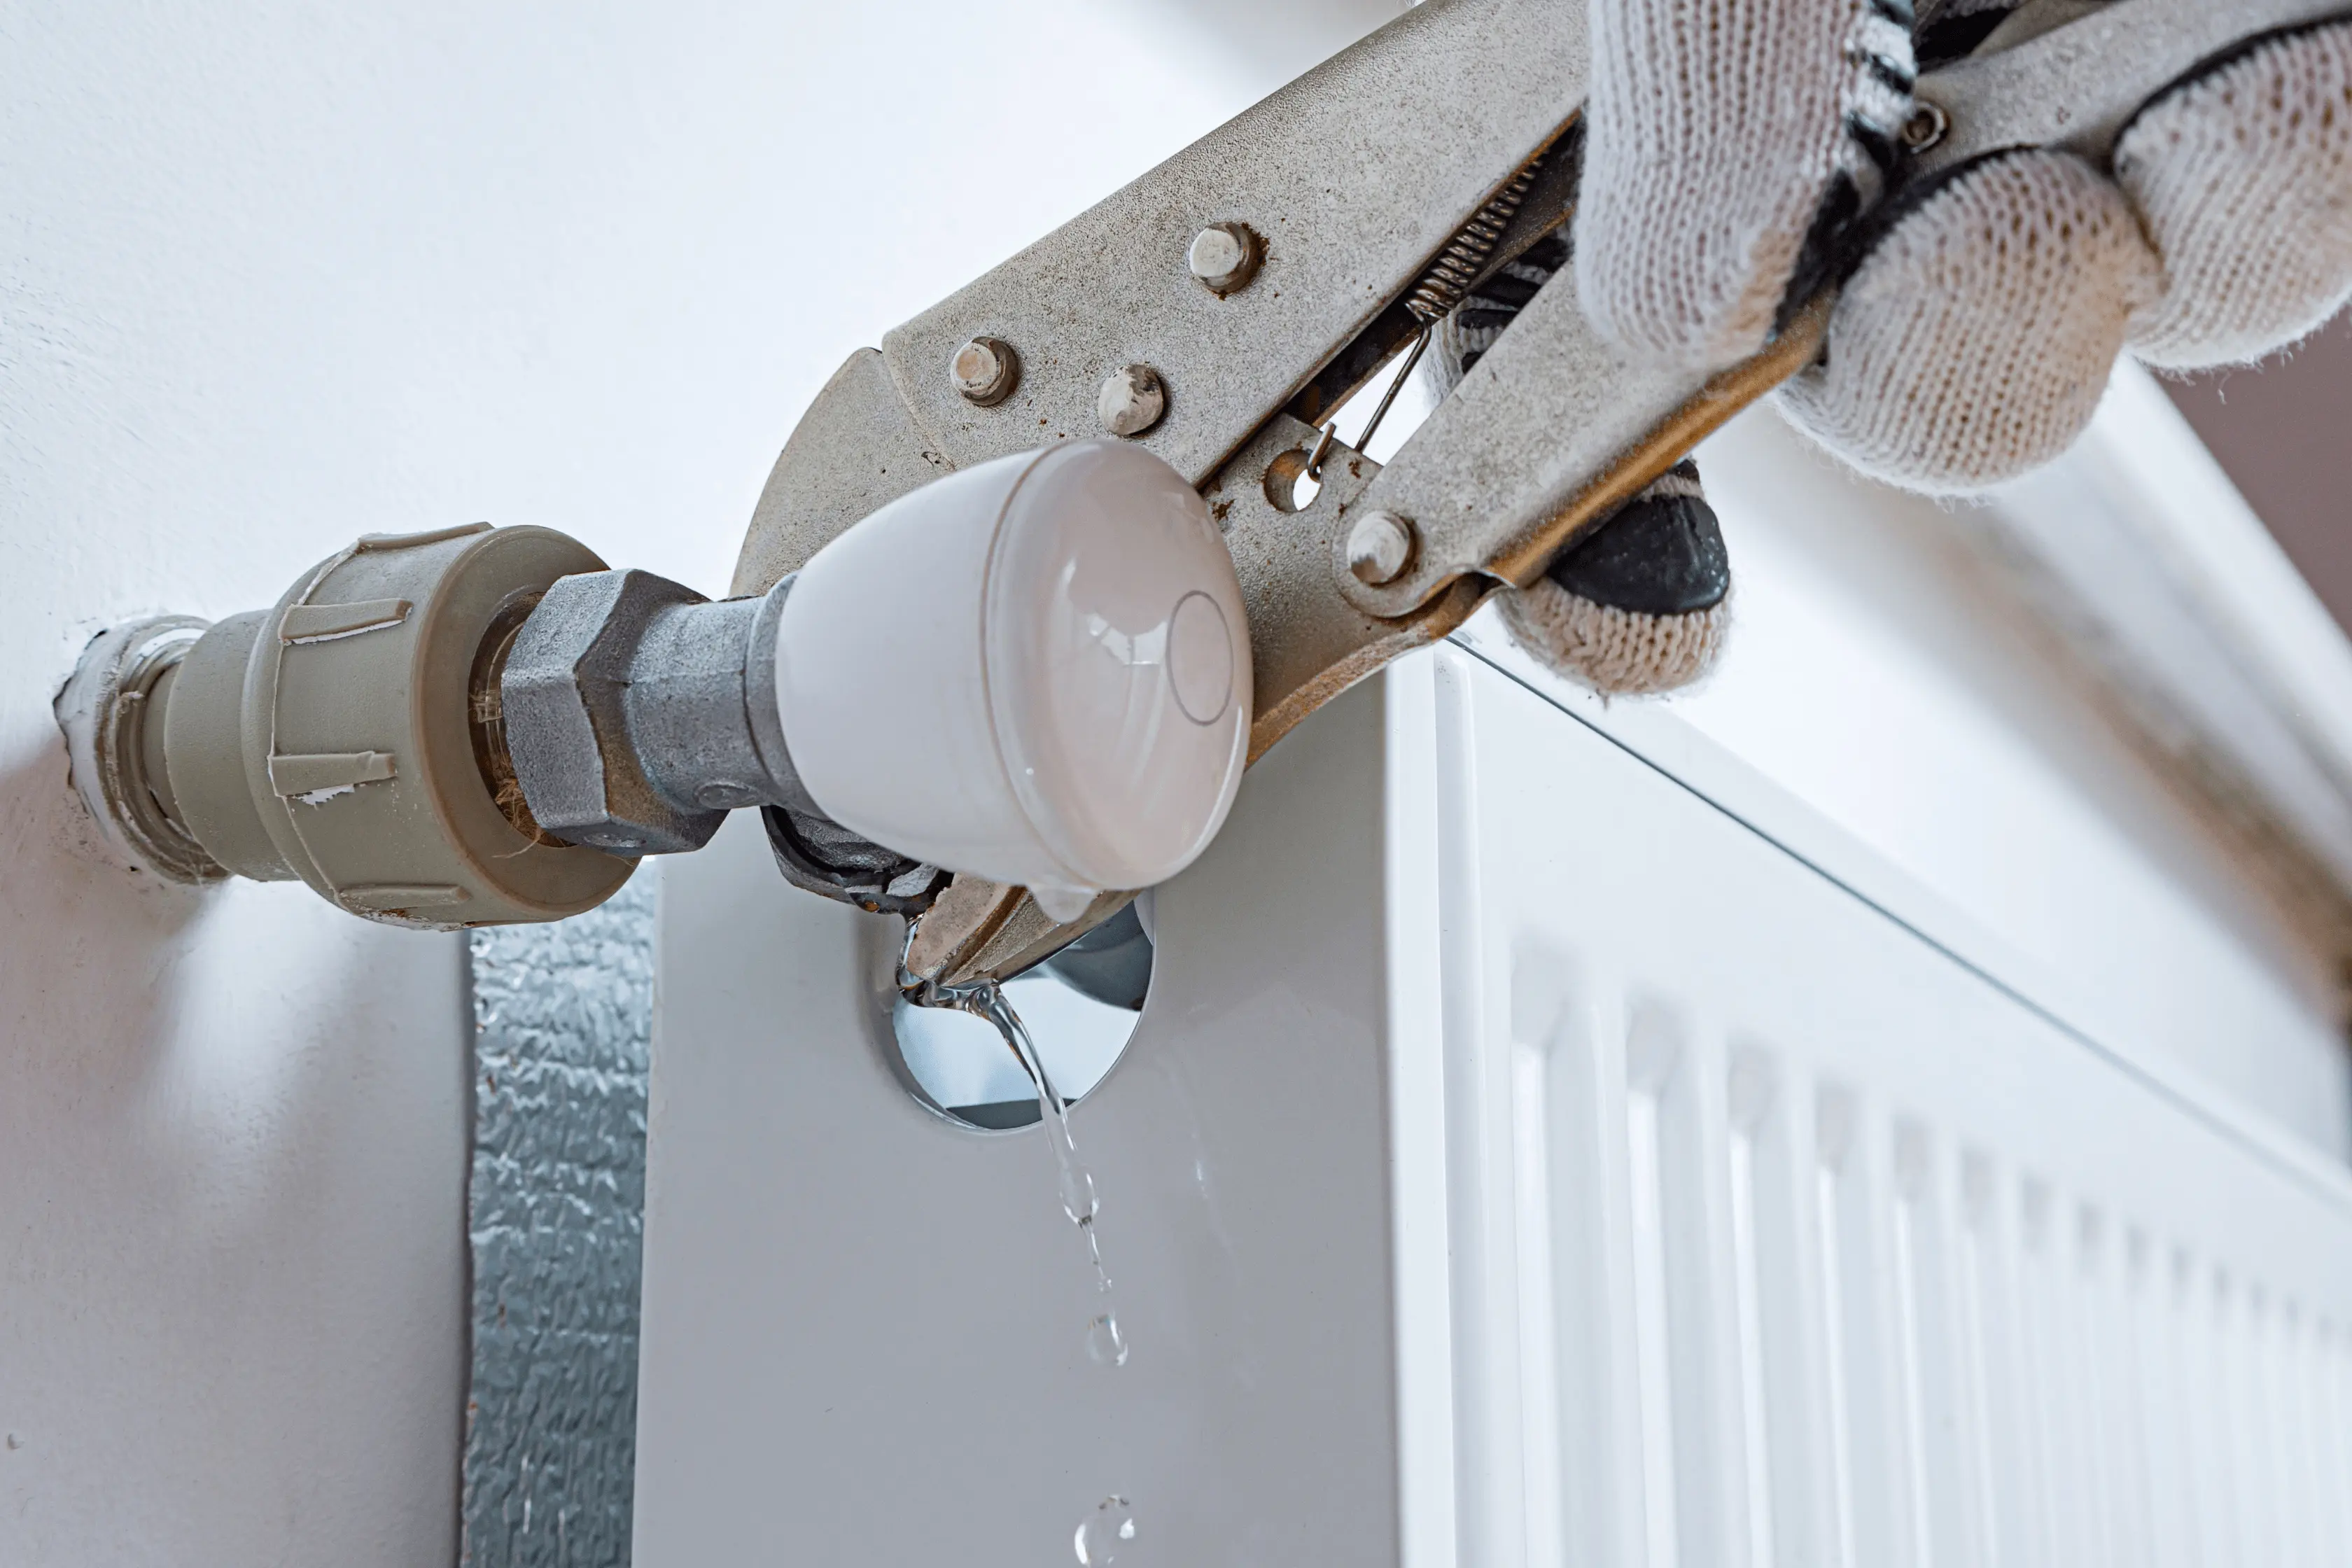
5. Open The Bleed Valve
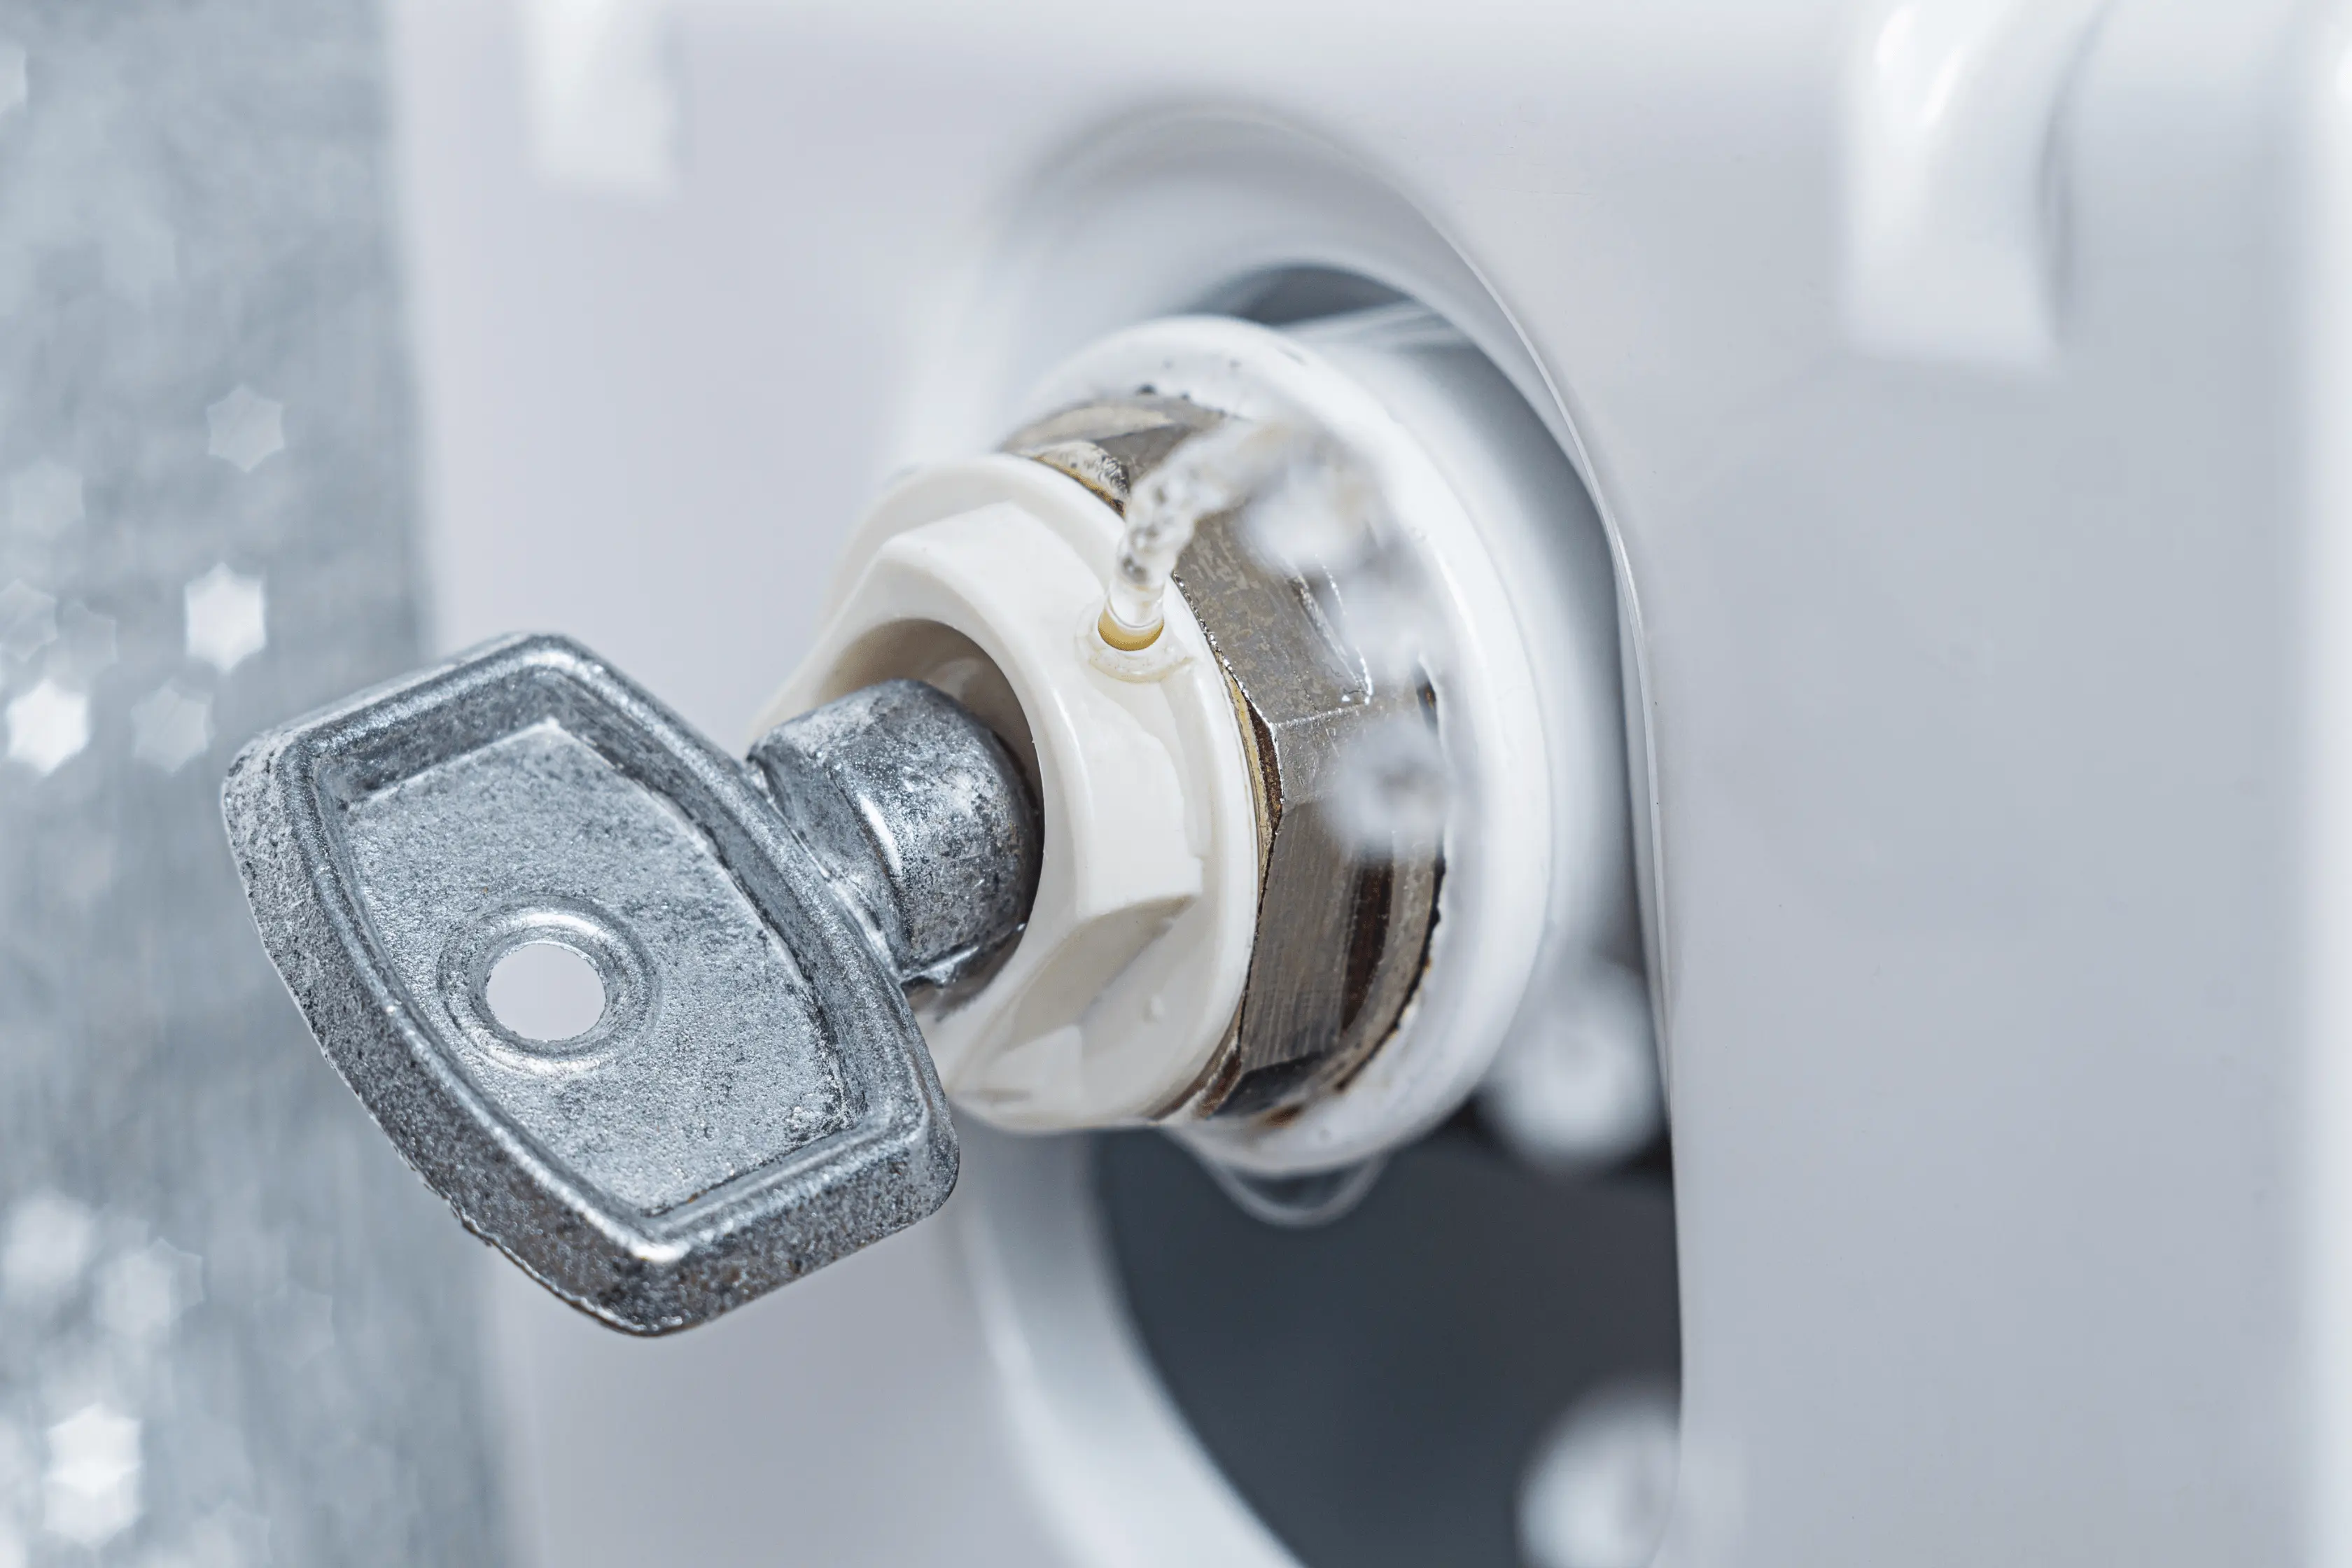
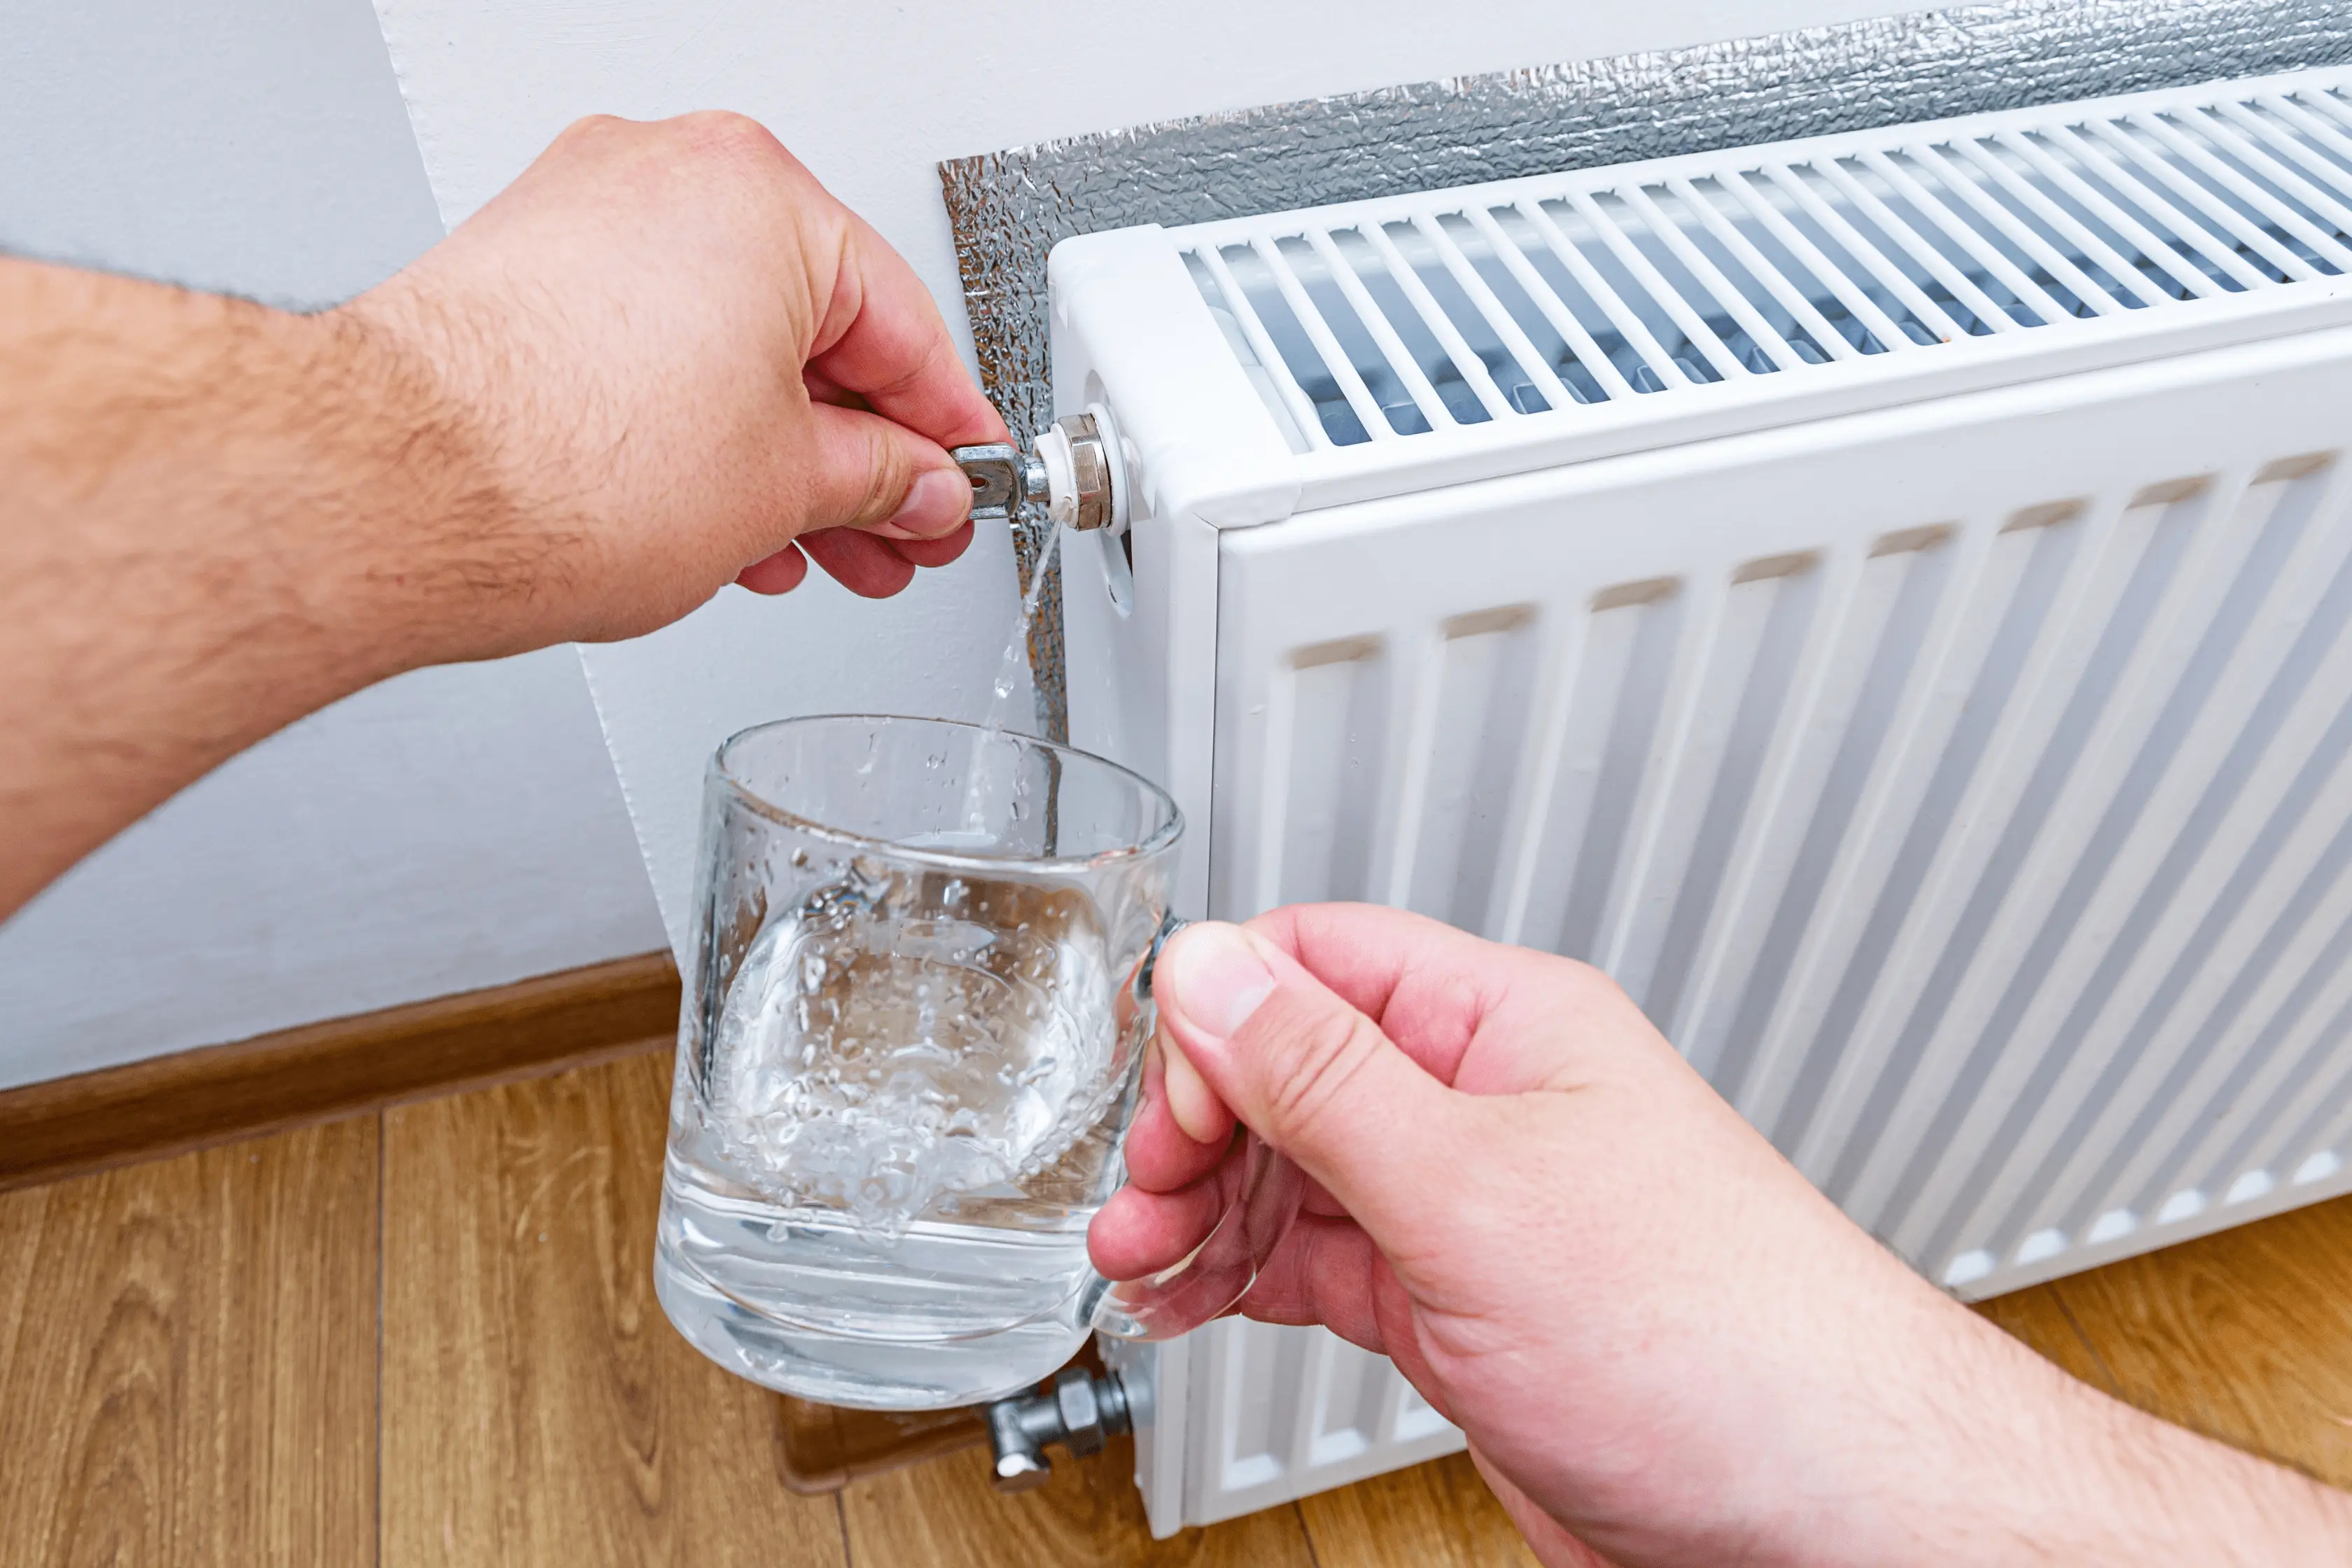
To bleed your radiator, locate the bleed valve at the top, either on the left or right side.
Use your radiator bleed key to turn the valve counter-clockwise, which will allow air to enter the radiator. This will help flush out any water or sludge buildup inside quicker.
6. Remove the Lockshield Valve Nut
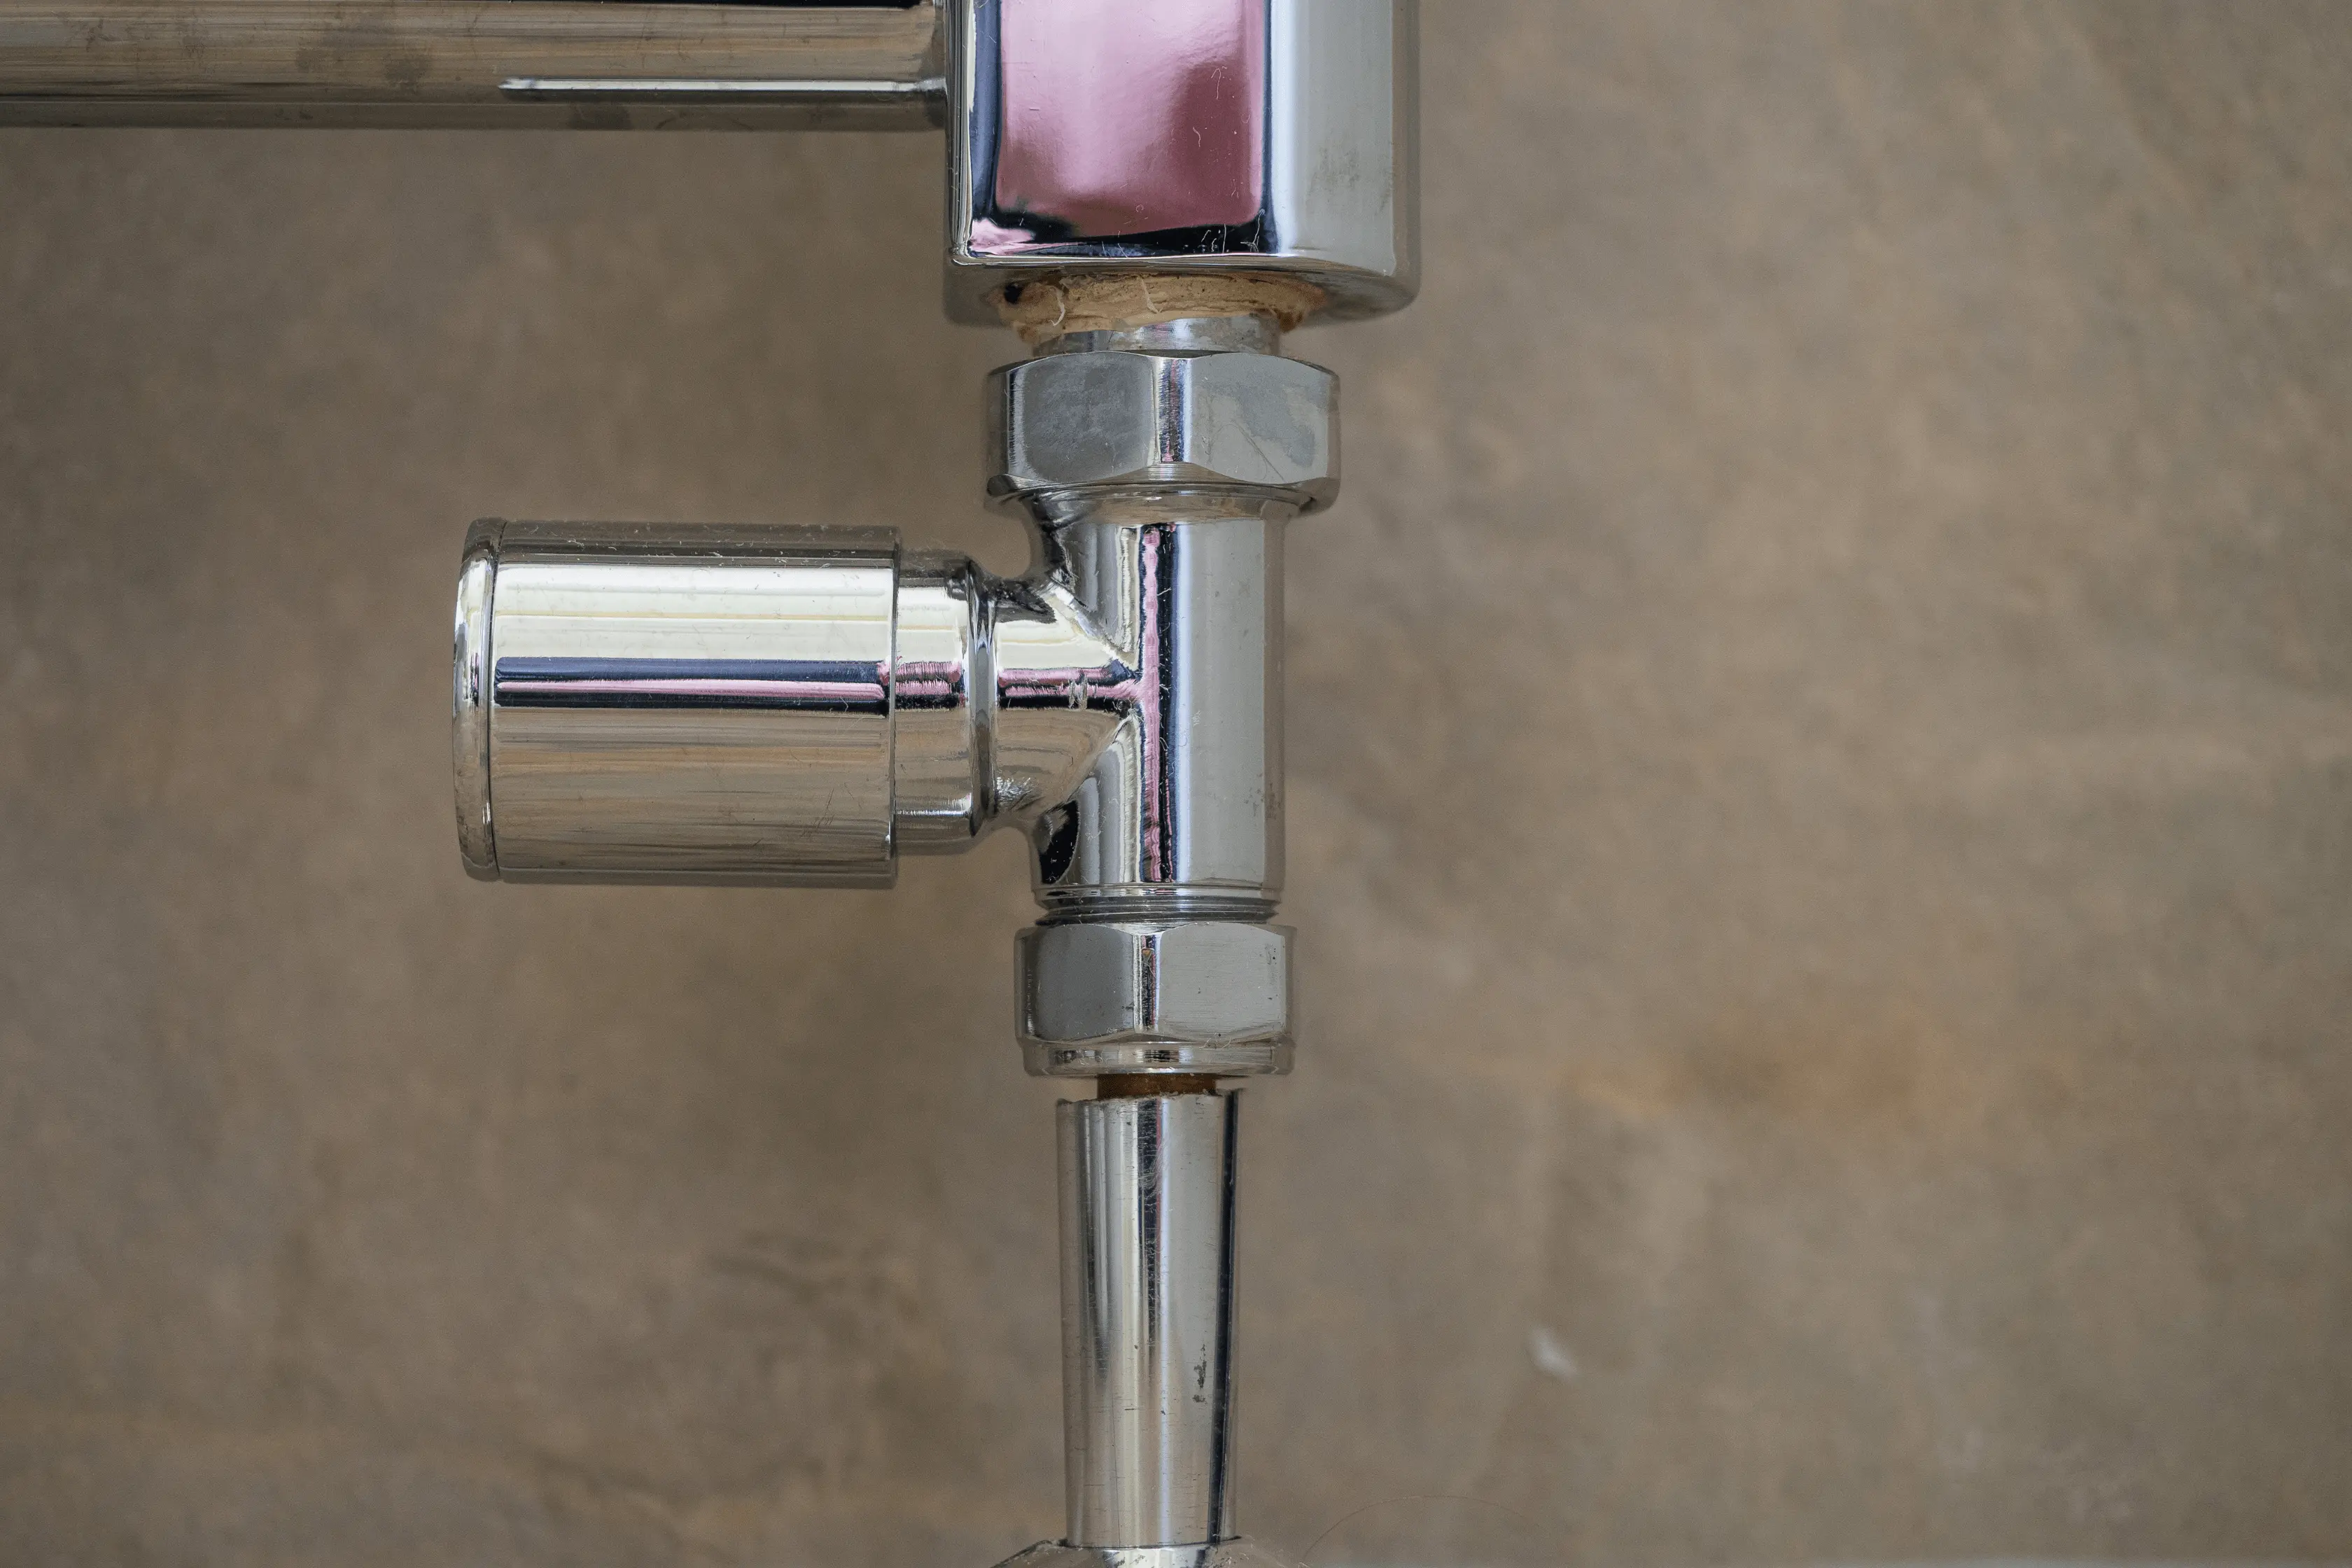
To remove the lockshield valve nut on the opposite side of the radiator, first use pliers or grips to steady the valve.
Then use a spanner to unscrew the nut from the radiator, just as you would for the thermostatic radiator valve nut. When draining the radiator, have a bucket and towels ready to catch any water that may rush out.
7. Drain Any Remaining Water
Finally drain any remaining water from the radiator by disconnecting both valves. This will allow you to tilt the radiator up on one side, letting the water drain into a bucket. If the radiator is heavy, be sure to get assistance to avoid injury when moving it.
Frequently Asked Questions
How Long Does It Take To Drain A Radiator?
Unsure how long to drain a radiator? It can take anywhere from 20 minutes to over an hour to completely drain a central heating system depending on the size of the radiator.
How To Cap Off A Radiator Without Draining The System?
To cap off a radiator without draining the entire system, first turn off the heating.
Next, close the valves on both ends. Once done, tightly attach a blanking cap onto the threaded end of the pipe, ensuring it is snug but not overtightened.
This method temporarily isolates the radiator without impacting the rest of the heating system. Remember to remove the cap when you want to restore the radiator's functionality and proper water flow.


