The shower enclosure is more than a functional space; it's a cornerstone of your bathroom's aesthetics and functionality. A well-installed enclosure ensures a watertight and visually pleasing shower area. This guide will help you install a shower enclosure, giving you the confidence to transform your bathroom.
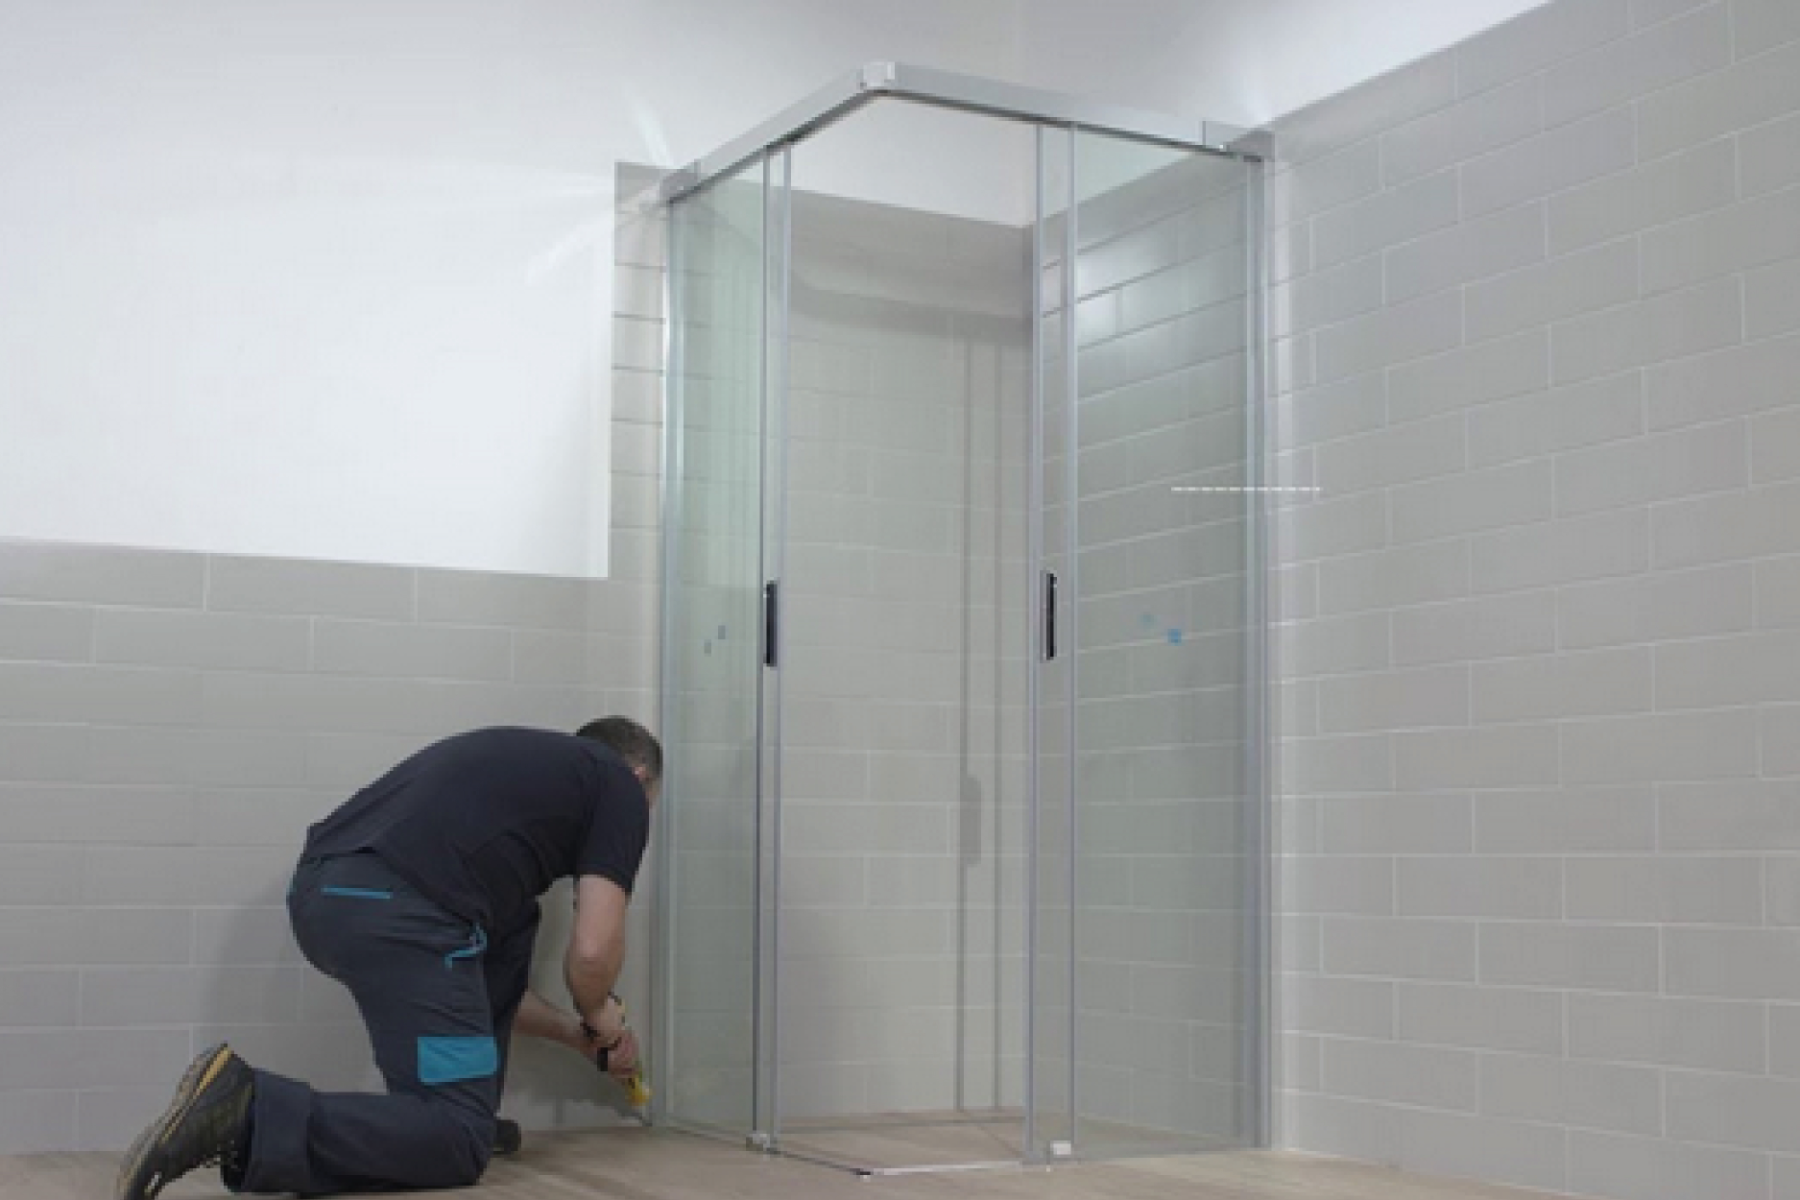
Planning And Preparation
Before diving into the installation process, meticulous planning is key.
Assessing Your Space: Begin by evaluating your bathroom space. Take precise measurements to ensure your chosen enclosure fits seamlessly. Consider factors like wall dimensions, ceiling height, and any potential obstacles.
Selecting the Right Enclosure: Choose an enclosure that aligns with your style preferences and bathroom layout. Whether it's a sleek frameless design or a classic framed enclosure, the market offers diverse options to cater to every taste.
Gathering Materials And Tools
To embark on this installation journey, gather essential materials and tools:
- Shower enclosure kit
- Screwdriver
- Level
- Silicone sealant
- Drill
- Screws
- Spirit level
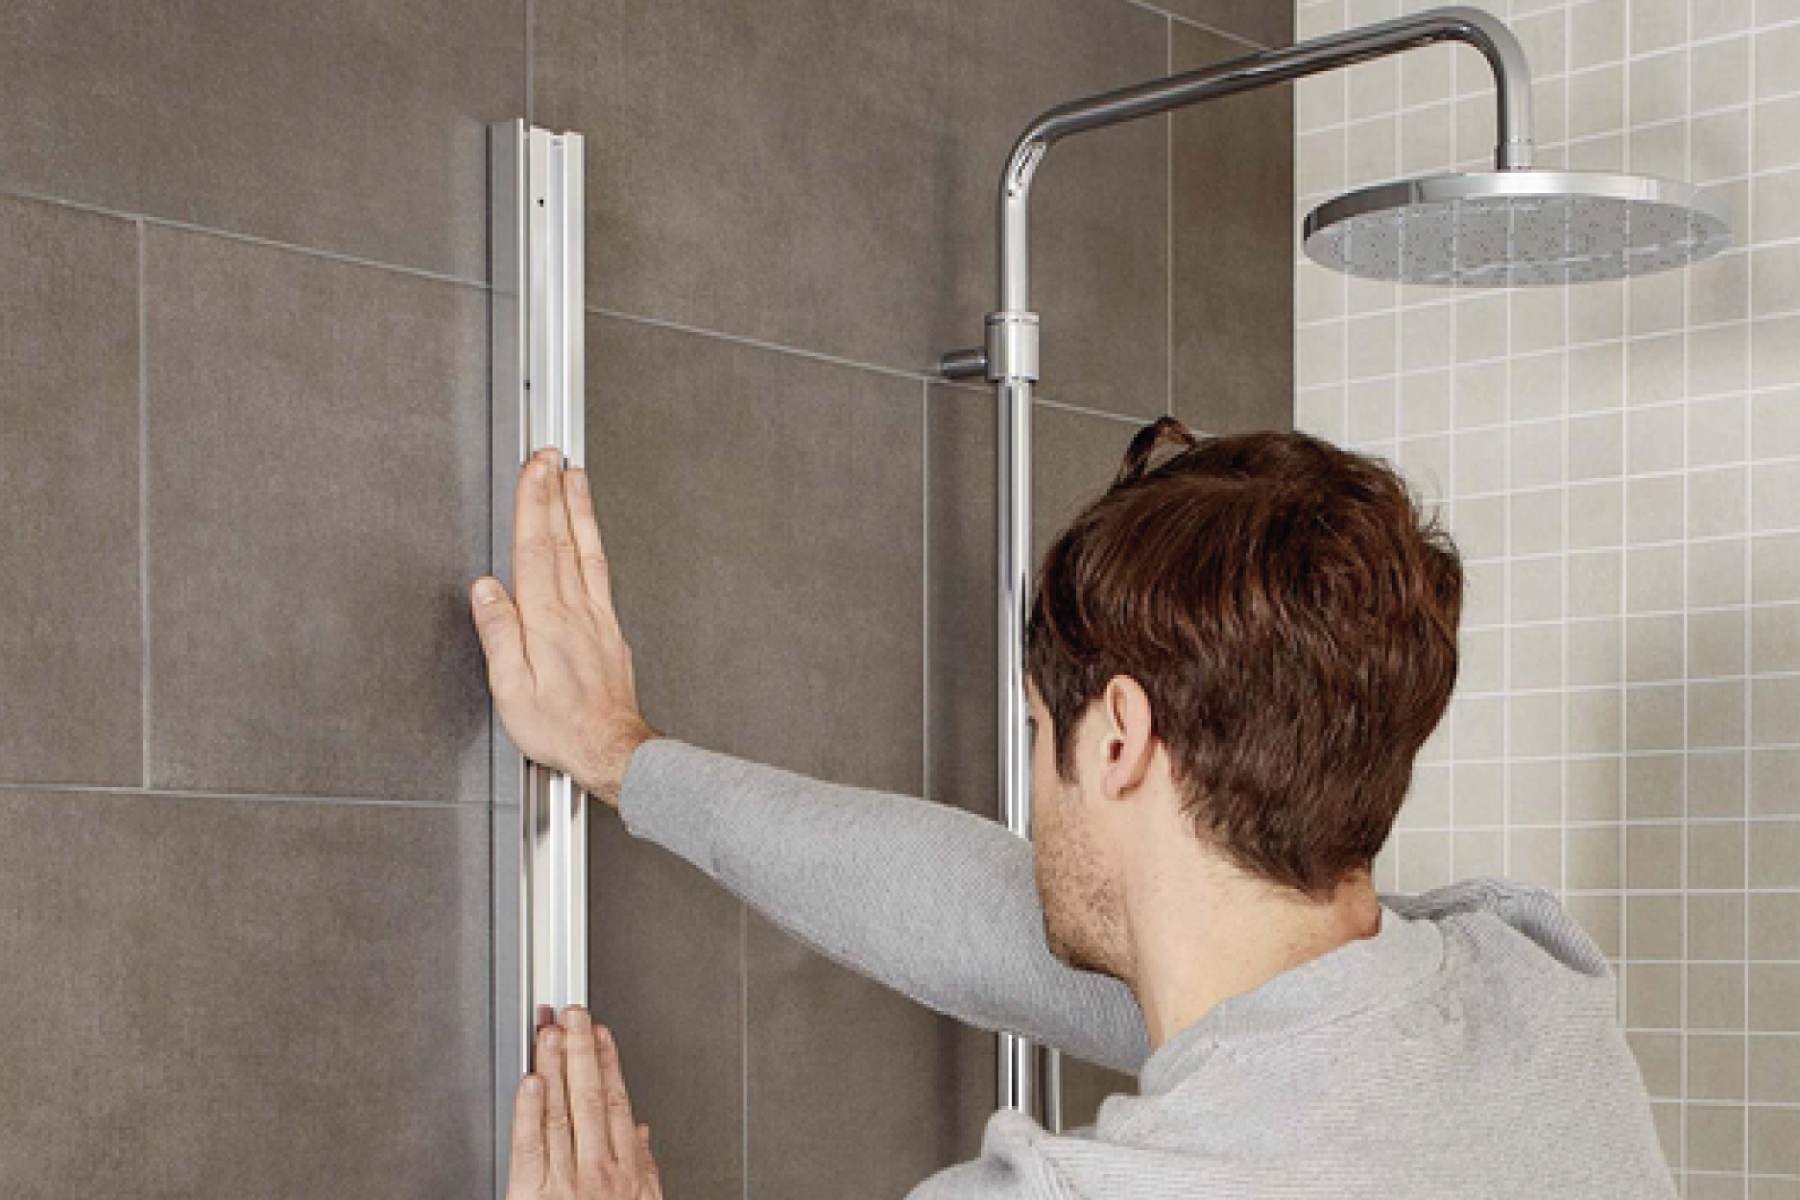
Preparing The Installation Site
Before the enclosure installation, ensure your bathroom is a blank canvas ready for the transformation.
Checking Wall Condition: Inspect the walls for any signs of damage or unevenness. If necessary, repair cracks and ensure a smooth surface for the enclosure to rest against.
Ensuring a Stable Floor: Confirm that the bathroom floor is stable and level. Any unevenness may impact the proper alignment of the enclosure.
Installing The Shower Tray
The shower tray serves as the foundation of your enclosure. Follow these steps for a secure installation.
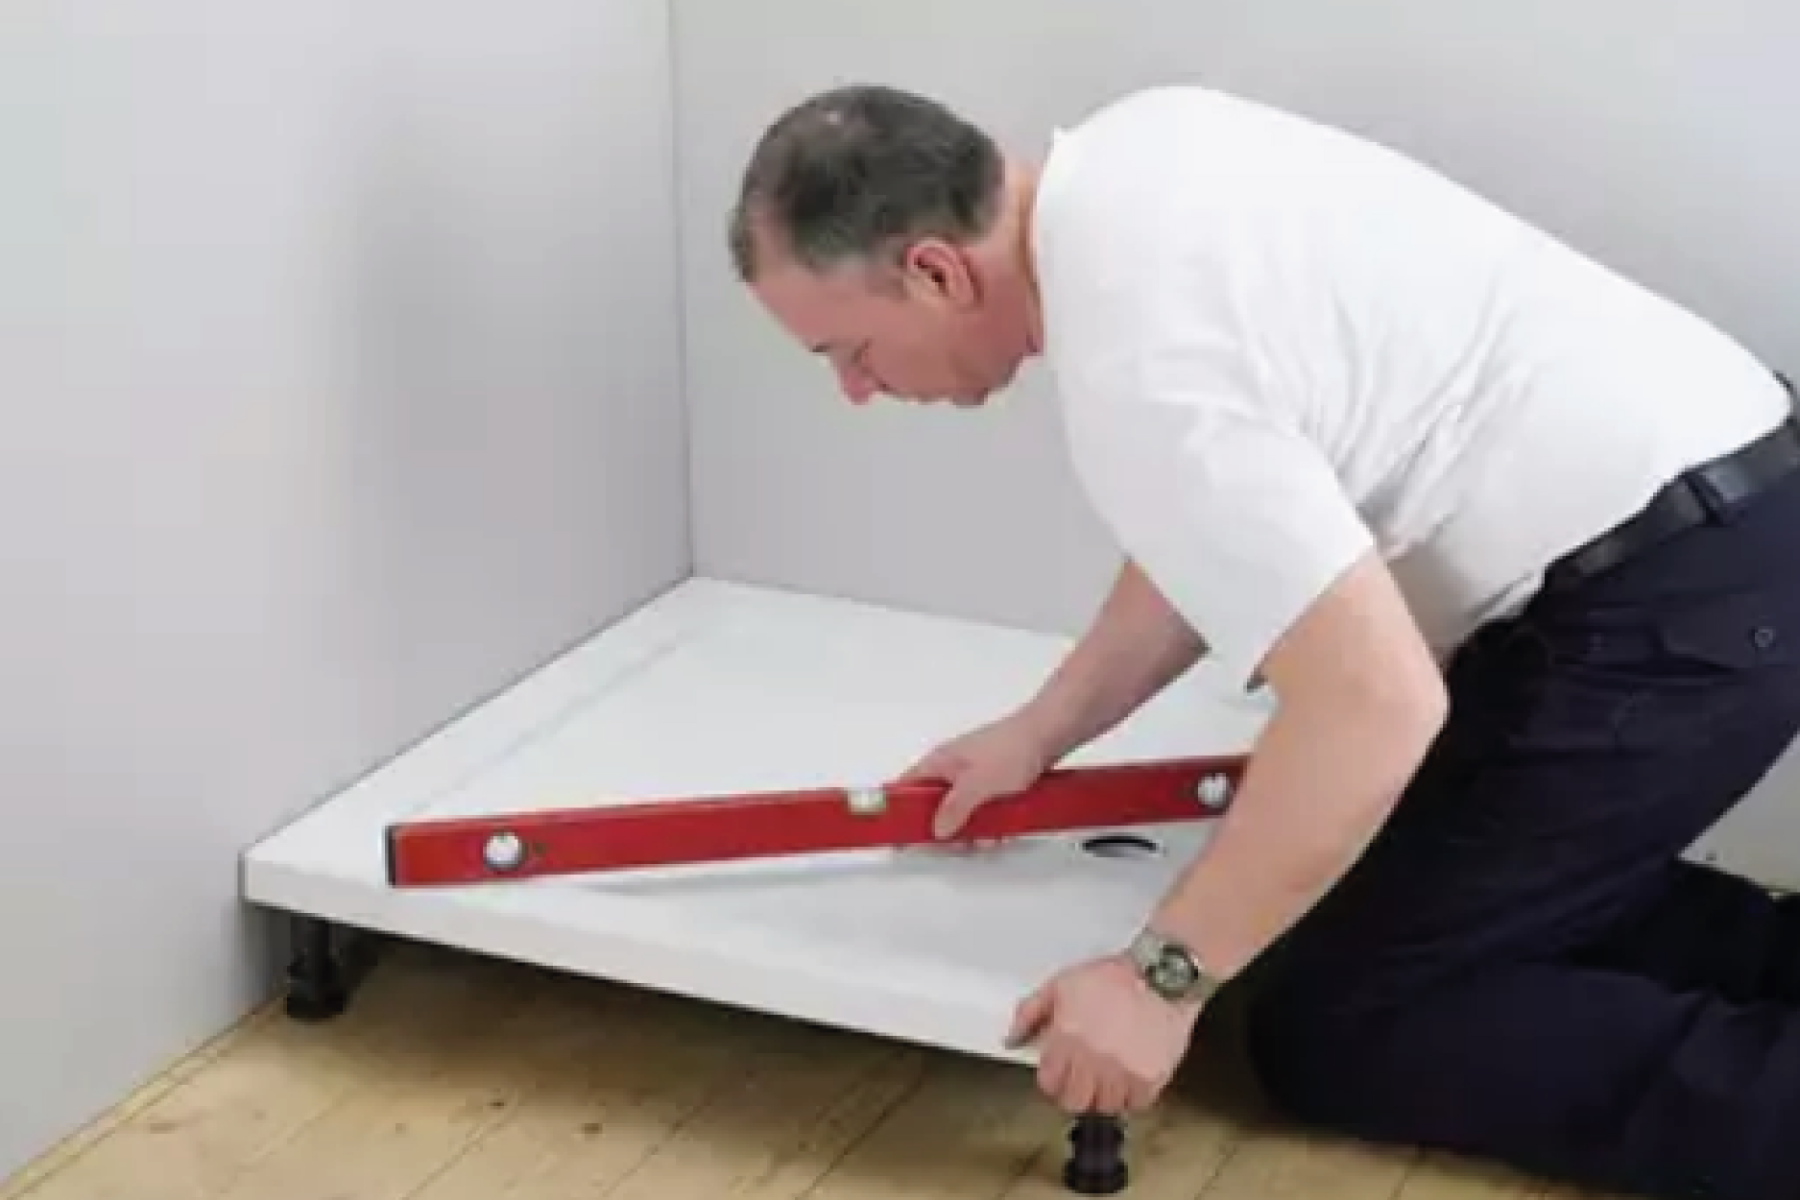
Positioning the Tray: Place the tray in the desired location, ensuring it aligns with your plumbing and drainage systems. Use a level to confirm its even placement.
Attaching the Tray to the Floor: Secure the tray to the floor using screws. This step guarantees stability and prevents any movement during use.
Connecting the Waste Trap: Connect the waste trap to the drainage system, ensuring a proper seal to prevent leaks. This step is crucial for maintaining a dry and hygienic bathroom.
Installing The Enclosure Panels
Now comes the exciting part—installing the actual enclosure.
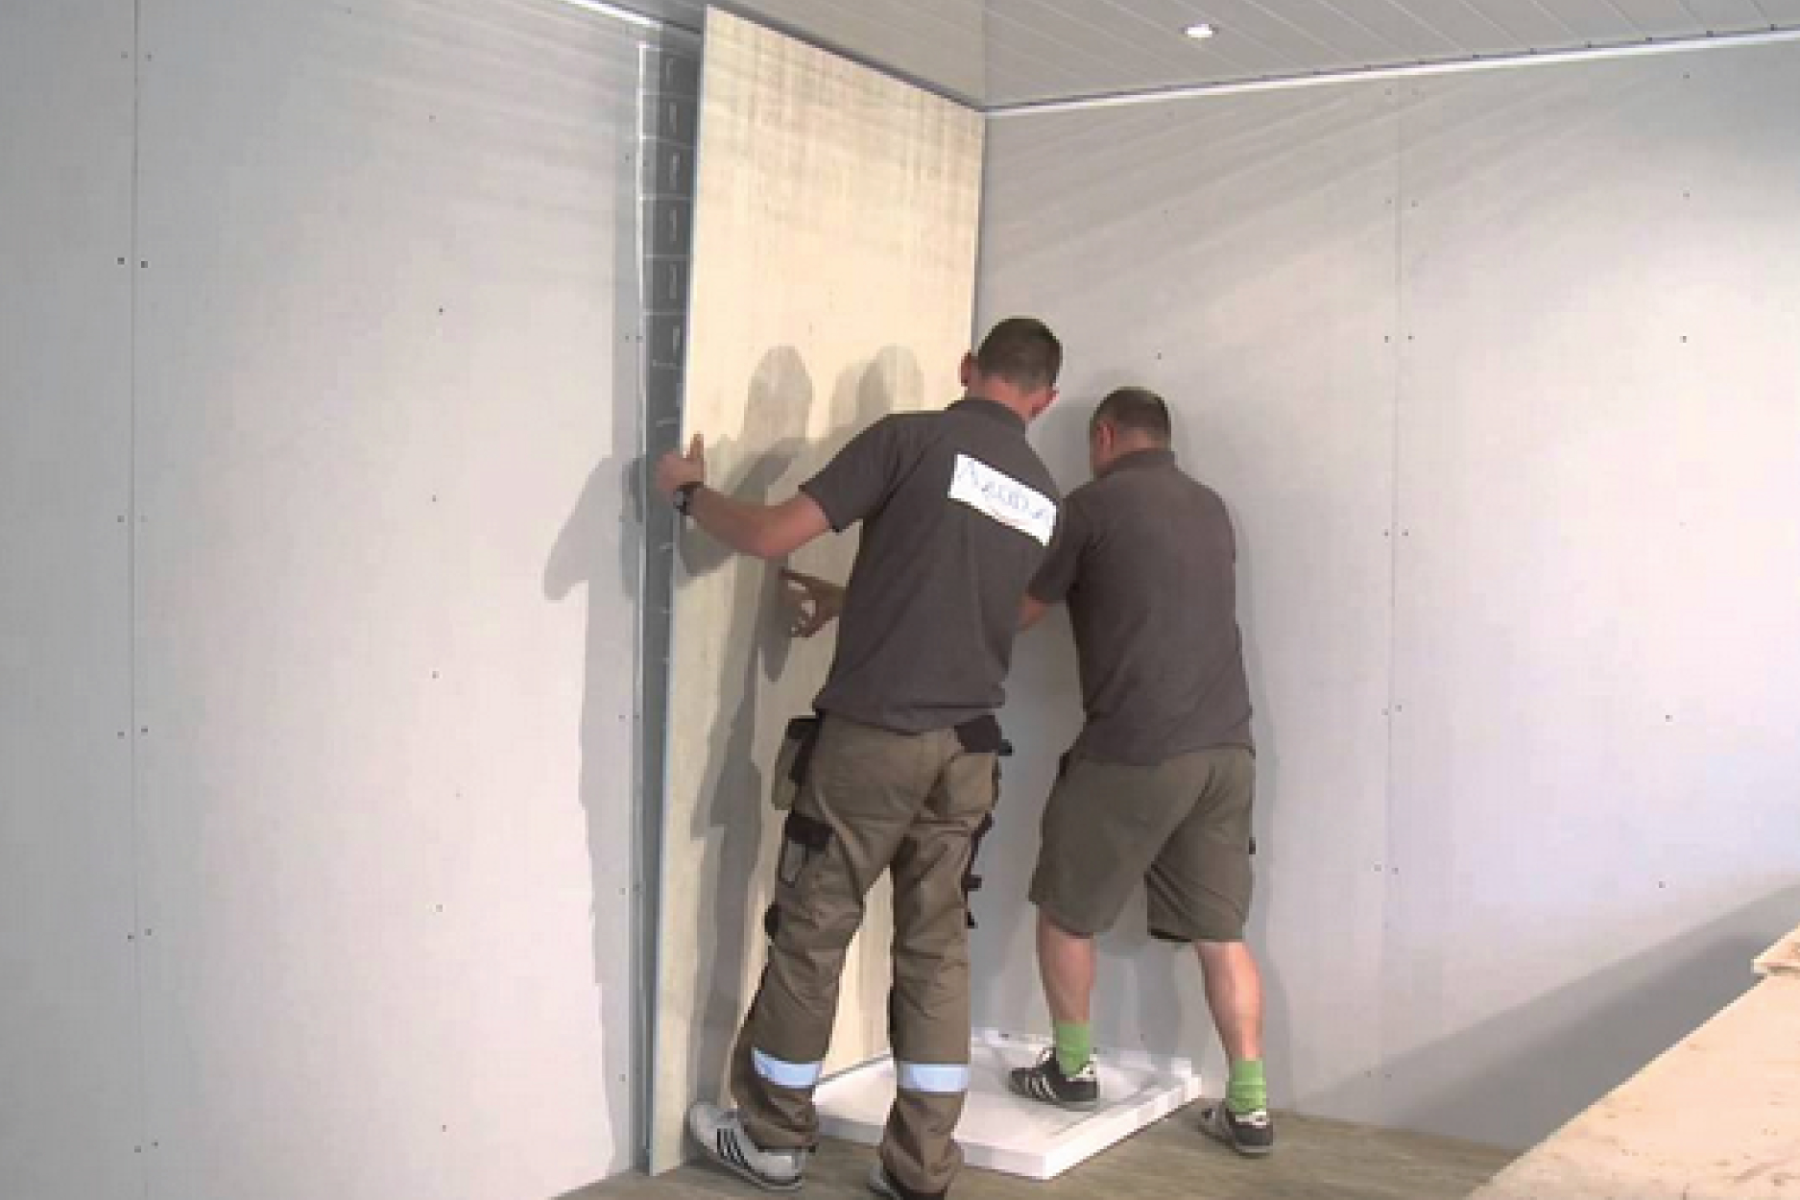
Attaching the Side Panels: Position the side panels against the walls, ensuring a snug fit. Secure them in place using the provided screws. Double-check the vertical alignment with a spirit level.
Installing the Door Panel: Attach the door panel to the side panels according to the manufacturer's instructions. Ensure smooth opening and closing to guarantee a functional enclosure.
Sealing the Enclosure: Apply silicone sealant along the edges and joints of the enclosure. This not only ensures a watertight seal but also enhances the enclosure's longevity.
Finishing Touches
With the enclosure in place, add the finishing touches for a polished look.
Cleaning and Inspecting: Wipe down the enclosure to remove any smudges or sealant residue. Inspect the entire installation for any loose screws or potential issues.
Testing for Leaks: Before celebrating your newly installed enclosure, run a water test. Check for any leaks or drips, ensuring your bathroom stays dry during shower sessions.
Maintenance Tips
To prolong the life of your shower enclosure, follow these maintenance tips:
- Regularly clean glass panels to prevent soap scum buildup.
- Check and reapply sealant as needed to maintain water resistance.
- Tighten any loose screws to ensure the enclosure remains stable over time.
How To Install Frameless Shower Enclosure
Installation Steps:
1. Gather Materials: Ensure you have all necessary materials and tools ready.
2. Measure and Plan:Measure the shower space and plan the layout for the frameless enclosure.
3. Install the Shower Tray: If using a shower tray, install it following the manufacturer's instructions.
4. Mark Wall Mounting Points: Use a pencil to mark the points on the walls where the enclosure will be mounted.
5. Drill Holes: Carefully drill holes at the marked points, using glass bits for glass surfaces.
6. Attach Wall Channels: Secure wall channels to the drilled holes using appropriate anchors.
7. Mount Side Panels: Attach the frameless glass side panels to the wall channels securely.
8. Install Door Hinges: If your enclosure has a door, install hinges onto the fixed glass panel.
9. Hang and Adjust the Door: Hang the frameless door on the hinges and make necessary adjustments for proper alignment.
10. Secure Door Handles: Install door handles or knobs securely according to the kit instructions.
11. Apply Silicone Sealant: Seal joints and edges with clear silicone to ensure waterproofing.
12. Check for Level and Plumb: Use a spirit level to ensure the enclosure is level and plumb.
13. Test for Leaks: Run water to test for any leaks and check the drainage.
14. Clean Excess Sealant: Wipe off any excess silicone sealant using towels.
15. Allow for Cure Time: Allow the sealant to cure according to the manufacturer's instructions before regular use.
Congratulations! You've successfully navigated the intricate process of installing a shower enclosure. With your newfound knowledge, you've not only elevated your bathroom's functionality but also added a touch of elegance. Enjoy your revitalised shower space, and revel in the satisfaction of a DIY job well done. For more guidance, explore our collection of shower enclosures for diverse styles and designs.
FAQs:
How To Install A Corner Shower Enclosure?
Installing a corner shower enclosure involves positioning the enclosure in the corner, securing the tray, attaching side panels, and sealing joints. Ensure precise measurements for a perfect fit.
How To Install A Quadrant Shower Enclosure?
Quadrant shower enclosures add a touch of elegance. Install by placing the tray, attaching curved side panels, securing the enclosure, and applying silicone sealant. Follow manufacturer instructions for a flawless installation.
How To Install Framed Glass Shower Enclosure?
Framed glass shower enclosures provide stability and style. Install by securing the frame to the walls, attaching glass panels, and sealing joints. Follow manufacturer instructions for optimal results.
How To Install Offset Quadrant Shower Enclosure?
Installing an offset quadrant shower enclosure involves placing the tray, attaching offset curved side panels, securing the enclosure, and applying silicone sealant. Ensure precise measurements and follow manufacturer guidelines. Explore our blog for a step-by-step guide on installing offset quadrant enclosures.
How To Install A 3 Sided Shower Enclosure?
Installing a 3-sided shower enclosure requires securing the tray, attaching two side panels and a door, and sealing joints with silicone. Ensure proper alignment for a watertight finish.
How To Install Shower Enclosure Kits?
Shower enclosure kits simplify the installation process. Begin by assembling the kit components, securing the tray, attaching panels, and applying sealant. Follow the provided instructions for a hassle-free installation.


