When it comes to installing a shower tray on a wooden floor, meticulous planning and execution are crucial for achieving a durable and watertight setup. In this in-depth guide, we'll take you through each step of the process, providing valuable insights and addressing common questions to ensure your installation is a success.
How To Install A Shower Tray On A Wooden Floor: Step-By-Step Guide
1. Assessing The Floor And Planning
Structural Check: Examine the wooden floor for signs of damage or weakness. Reinforce or replace any compromised sections to ensure stability.
Levelness Verification: Confirm that the floor is level to prevent drainage issues. Use a spirit level to identify any uneven areas that might affect the tray's placement.

2. Choosing The Right Shower Tray
Low-Profile Considerations: For a modern and sleek appearance, opt for low-profile shower trays. These are especially suitable for wooden floors.
Material Selection: Choose materials like acrylic or stone resin for their durability and resistance to moisture.
3. Gathering Necessary Tools And Materials
Silicone Sealant: A high-quality sealant for creating a watertight bond.
Screws and Screwdriver: To secure the tray firmly in place.
Spirit Level: Essential for checking the levelness of both the floor and the installed tray.
Jigsaw: If customization is needed, a jigsaw can help cut the tray to fit specific dimensions.
4. Preparing The Wooden Floor
Debris Clearance: Thoroughly clean the installation area, removing any debris or dust that could affect the tray's placement.
Dry Surface: Ensure the wooden floor is completely dry before proceeding.
5. Installing The Shower Tray
Positioning: Place the tray in the desired location and mark the drain location for accuracy.
Silicone Application: Apply a generous bead of silicone around the underside perimeter of the tray.
Placement: Carefully lower the tray onto the wooden floor, ensuring it aligns with the marked drain location.
6. Securing The Shower Tray
Screwing In:: Secure the tray by screwing it into the wooden floor. Be cautious not to overtighten, preventing damage to the tray.
Level Check: Verify the levelness of the tray using a spirit level.

7. Sealing The Edges
FAQs On Installing A Shower Tray On A Wooden Floor
How To Install A Low-Profile Shower Tray On Floorboards?
Installing a low-profile tray involves ensuring the floorboards are stable and level. Use an adhesive suitable for wooden surfaces, applying it evenly to provide a secure fit.
How To Raise A Shower Tray With Timber?
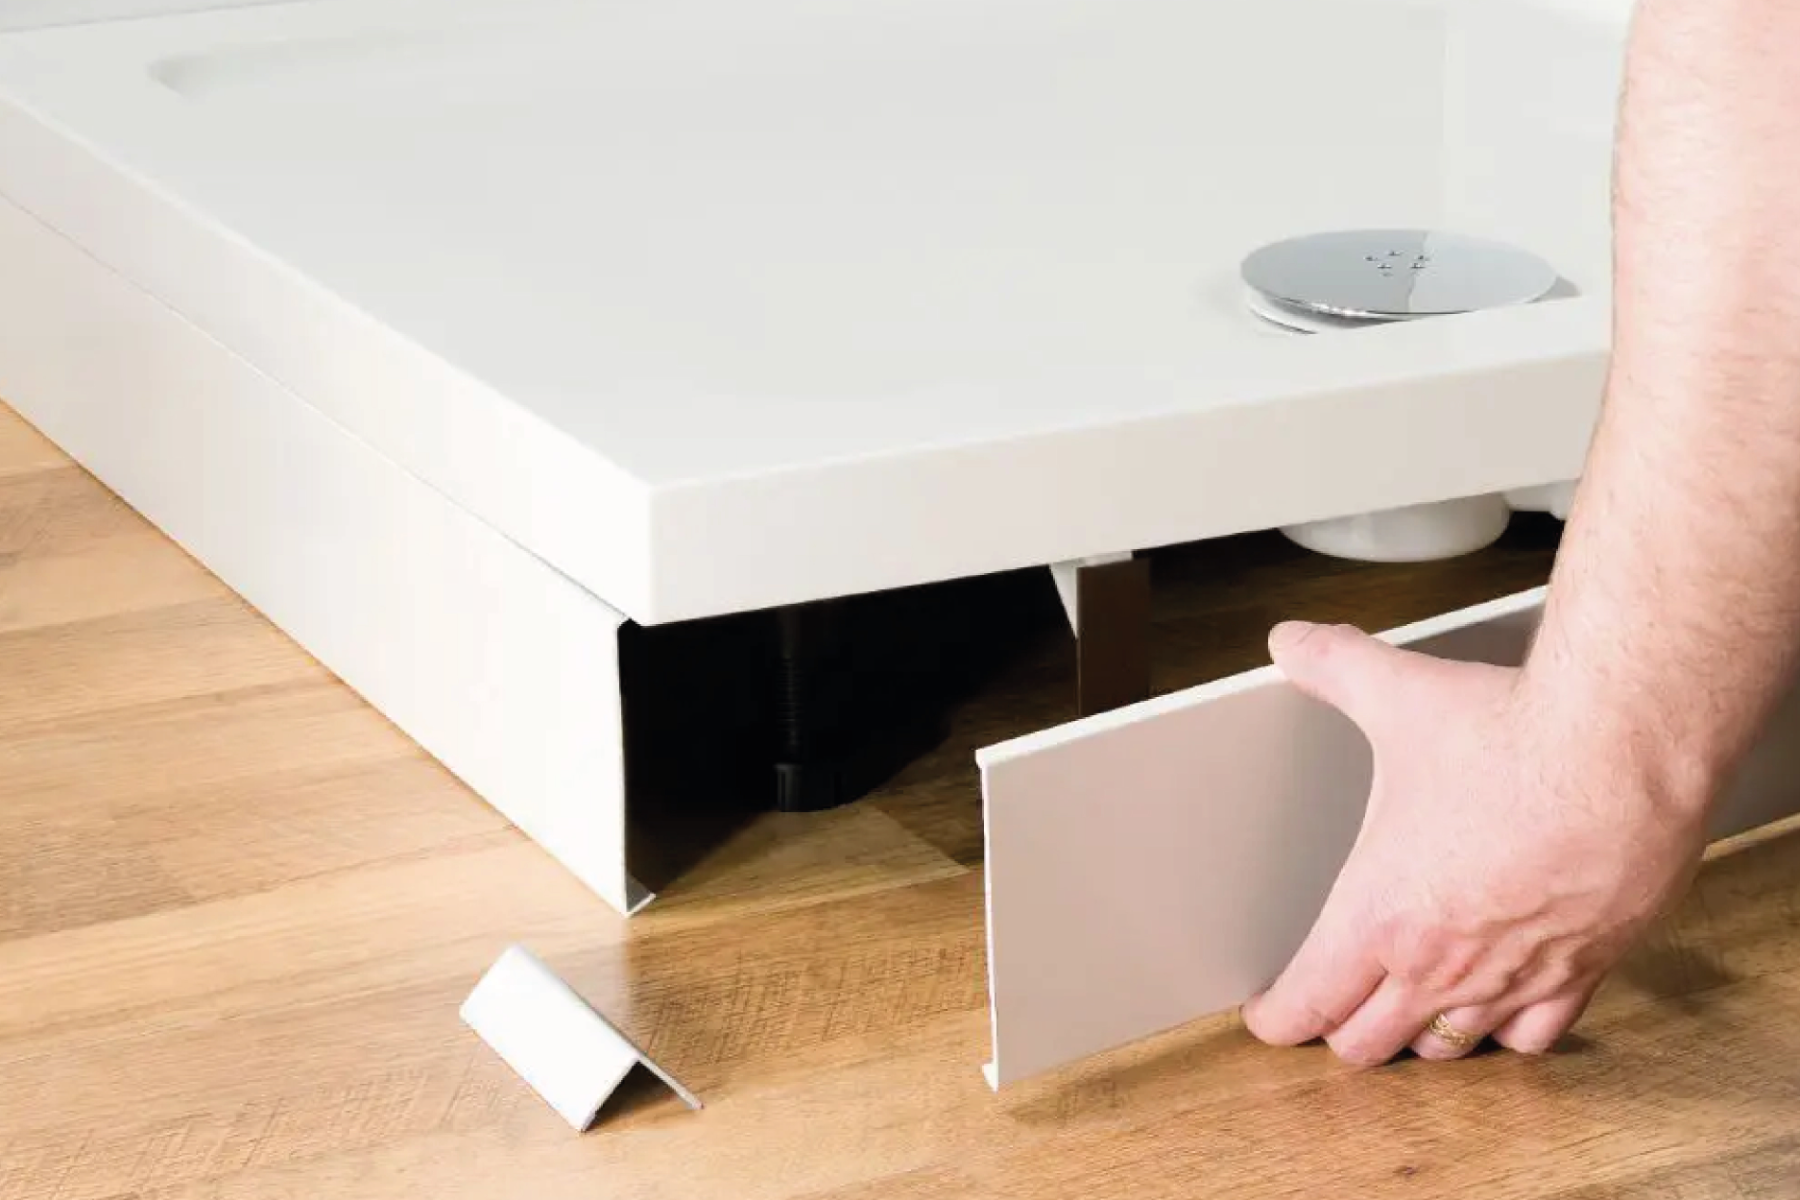
When raising a tray, consider using timber supports or a riser kit. Ensure the structure is stable and capable of supporting the additional height, providing a solid foundation for the tray.
How To Bed A Shower Tray On A Wooden Floor?
Bedding a tray requires applying a layer of silicone sealant or adhesive between the tray and the wooden floor. This creates a solid, water-resistant bond, enhancing the longevity of the installation.
How To Fix A Shower Tray To A Wooden Floor?
Secure the tray by strategically screwing it into the wooden floor. Place screws along the edges, ensuring they are tight enough for stability but not overly tightened to avoid damaging the tray.
How To Install A Shower Tray On Timber Floor?
Installing a tray on a timber floor involves a thorough assessment of the floor's condition, selecting an appropriate tray, and securing it with a combination of screws and silicone sealant. Precision is key to achieving a stable and reliable installation.
By following these detailed guidelines and addressing common questions comprehensively, you can confidently embark on installing a shower tray on a wooden floor, creating a durable, aesthetically pleasing, and watertight shower space. Prioritise precision and thoroughness throughout the entire process for optimal results.


