Radiator covers are a popular addition to many homes, providing aesthetic appeal and protection for your radiators. However, there may come a time when you need to remove them for cleaning, maintenance, or to access the radiator itself.
This guide will explain how to remove radiator covers. We'll cover those with clips, as well as other types... Let's get started!
How To Remove Radiator Covers With Clips:
Some radiator covers are secured in place using clips. Here's a step-by-step guide to help you remove them:
Step 1: PreparationMake sure the radiator is not running and has reached a cool temperature. This will prevent any accidental burns during the removal process.
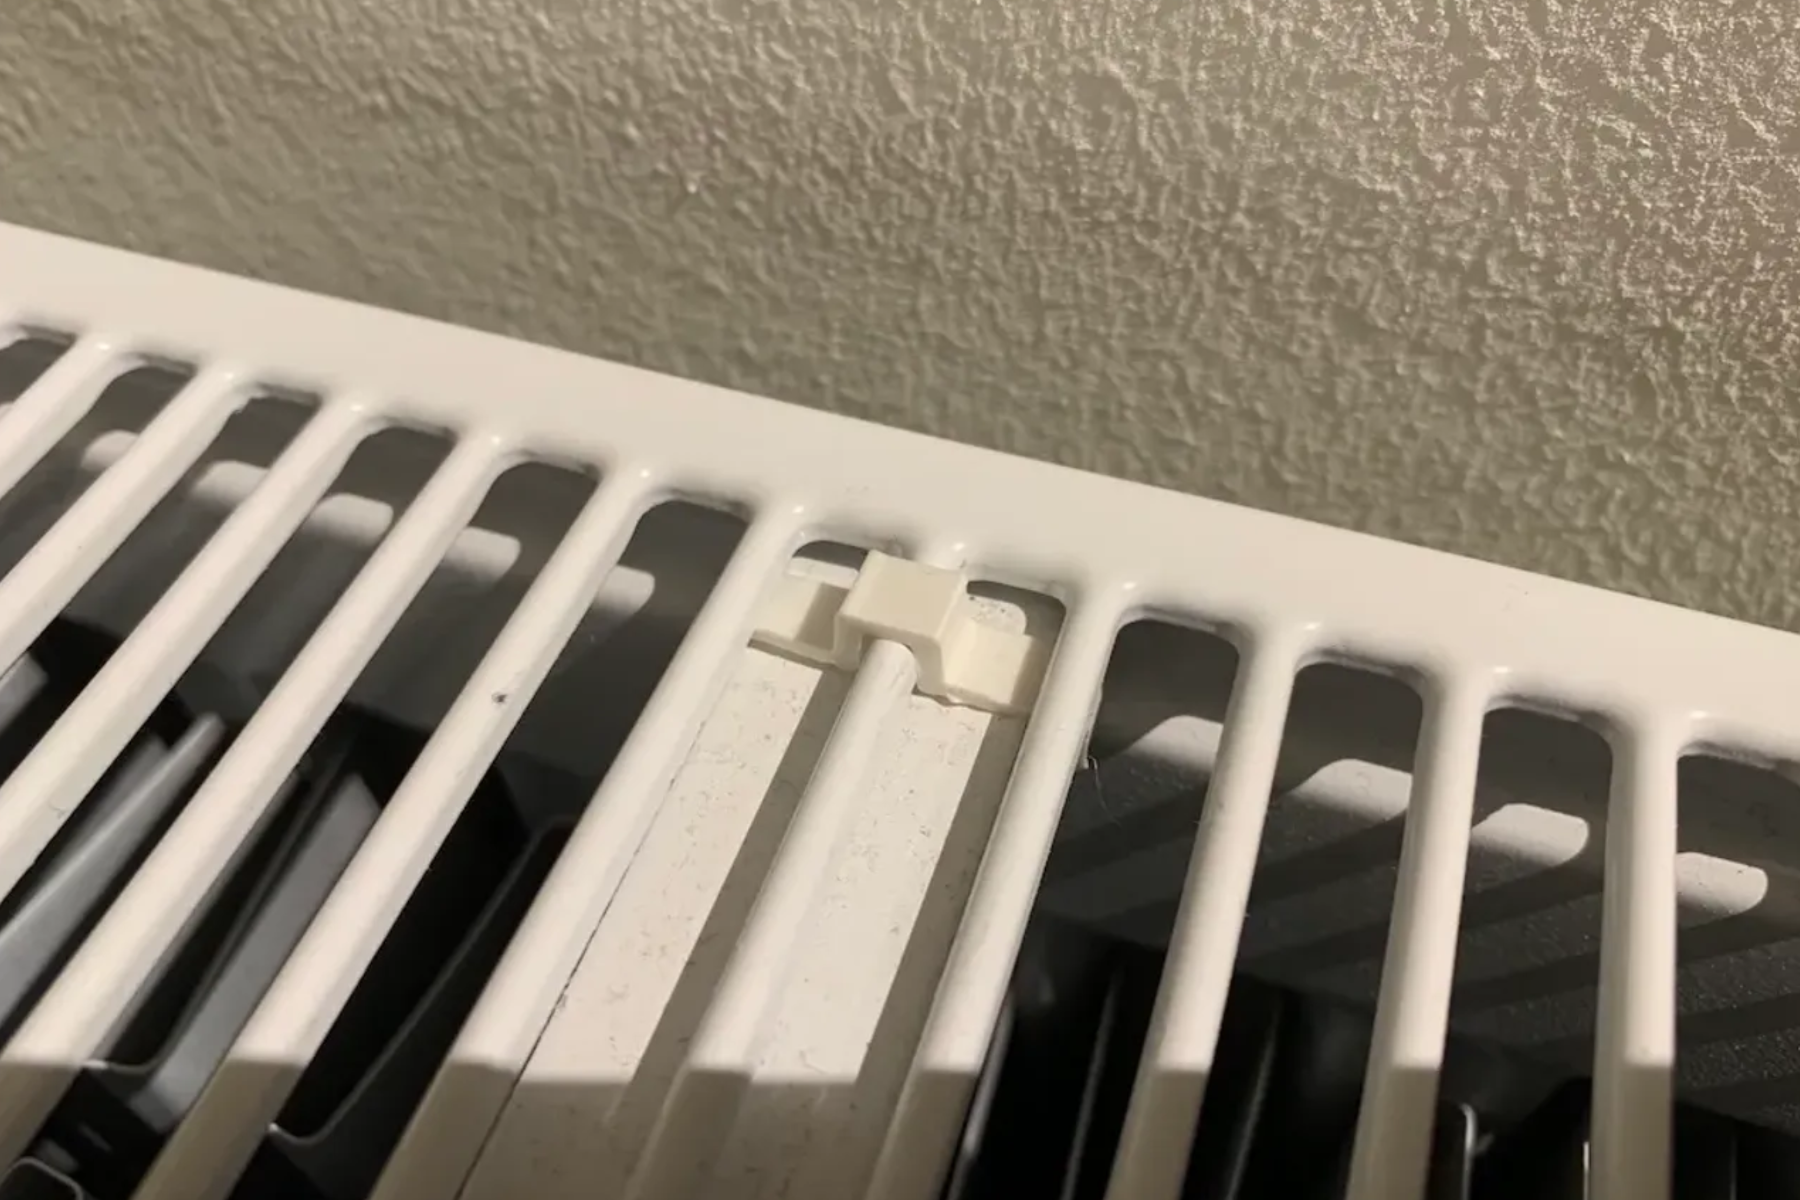
Step 2: Locate the ClipsInspect the radiator cover and locate the clips. These are usually positioned on the top, bottom, or sides of the cover.
 Step 3: Release the Clips
Use a flat-head screwdriver or similar tool. Gently pry or slide the clips. This will release them from their locked position.
Take care not to apply excessive force or damage the cover or clips.
Step 4: Lift and Remove the CoverOnce the clips are released, lift the radiator cover up. Or, tilt it slightly towards you. This will help disengage it from the wall brackets or other attachments.
Keep in mind that some covers may be heavy, so it's a good idea to have someone assist you if needed.
How To Remove Different Types Of Radiator Covers:
Radiator covers come in various designs for example vertical and horizontal and attachment methods. Here are steps to remove some common types:
Type 1: Screwed-On Covers
Step 1: Locate the screwsInspect the cover to find the screws that secure it to the wall or brackets.
Step 2: Unscrew and RemoveUsing a screwdriver, unscrew the screws in a counterclockwise direction until they are fully disengaged. Lift the cover carefully, ensuring it is not attached to any other fixtures, and set it aside.
Type 2: Snap-On Covers
Step 1: Identify the snap-on pointsSnap-on covers usually have plastic tabs or hooks that secure them in place. Locate these attachment points.
Step 2: Release the Snap-On PointsGently press or squeeze the tabs or hooks to release them from their locked position. Do this for all the snap-on points around the cover.
Step 3: Lift and RemoveRelease all the snap-on points. Lift the cover straight up. Alternatively, tilt the cover slightly towards you. This will detach it from the radiator.

Type 3: Magnetic Covers
Step 1: Find the magnetsMagnetic covers adhere to the radiator using magnets. Identify the locations of the magnets.
Step 2: Disengage the MagnetsCarefully insert a flat-head screwdriver or your fingers between the cover and the radiator. Gently pry the cover away from the magnets. This will release their grip.
Step 3: Lift and RemoveOnce the magnets are disengaged, lift the cover straight up or slightly tilt it towards you to remove it.
Removing radiator covers can be a simple task with the right knowledge and tools. Follow the steps in this guide. You can remove radiator covers, even those with clips.
These covers come in various types, such as screw-on, snap-on, and magnetic. Remember to handle the covers with care to avoid any damage.
Whether you need to clean, maintain, or access your radiator, this guide should help you through the removal process with ease. Enjoy the benefits of a well-maintained radiator system in your home!


