The Benefits Of Removing Sludge From Radiators
The presence of sludge in radiators, formed by a congregation of rust, corrosion, and dirt or grime, can prevent proper radiator water flow, and stop your appliances from working properly as a result.
Therefore, radiator sludge removal should be a key priority for homeowners.
This blog will explain how to flush central heating radiators to remove sludge, and return them to their prime operating standards.

How To Tell If You Have Radiator Sludge
First, to tell if you need to work out how to remove sludge from central heating radiators, look out for a few indicators.
If your radiators are taking longer than usual to heat up, or have cold spots at the bottom, this could be a sign of radiator sludge. A boiler or central heating system making a racket could be another pointer that radiator sludge remover practices are required.
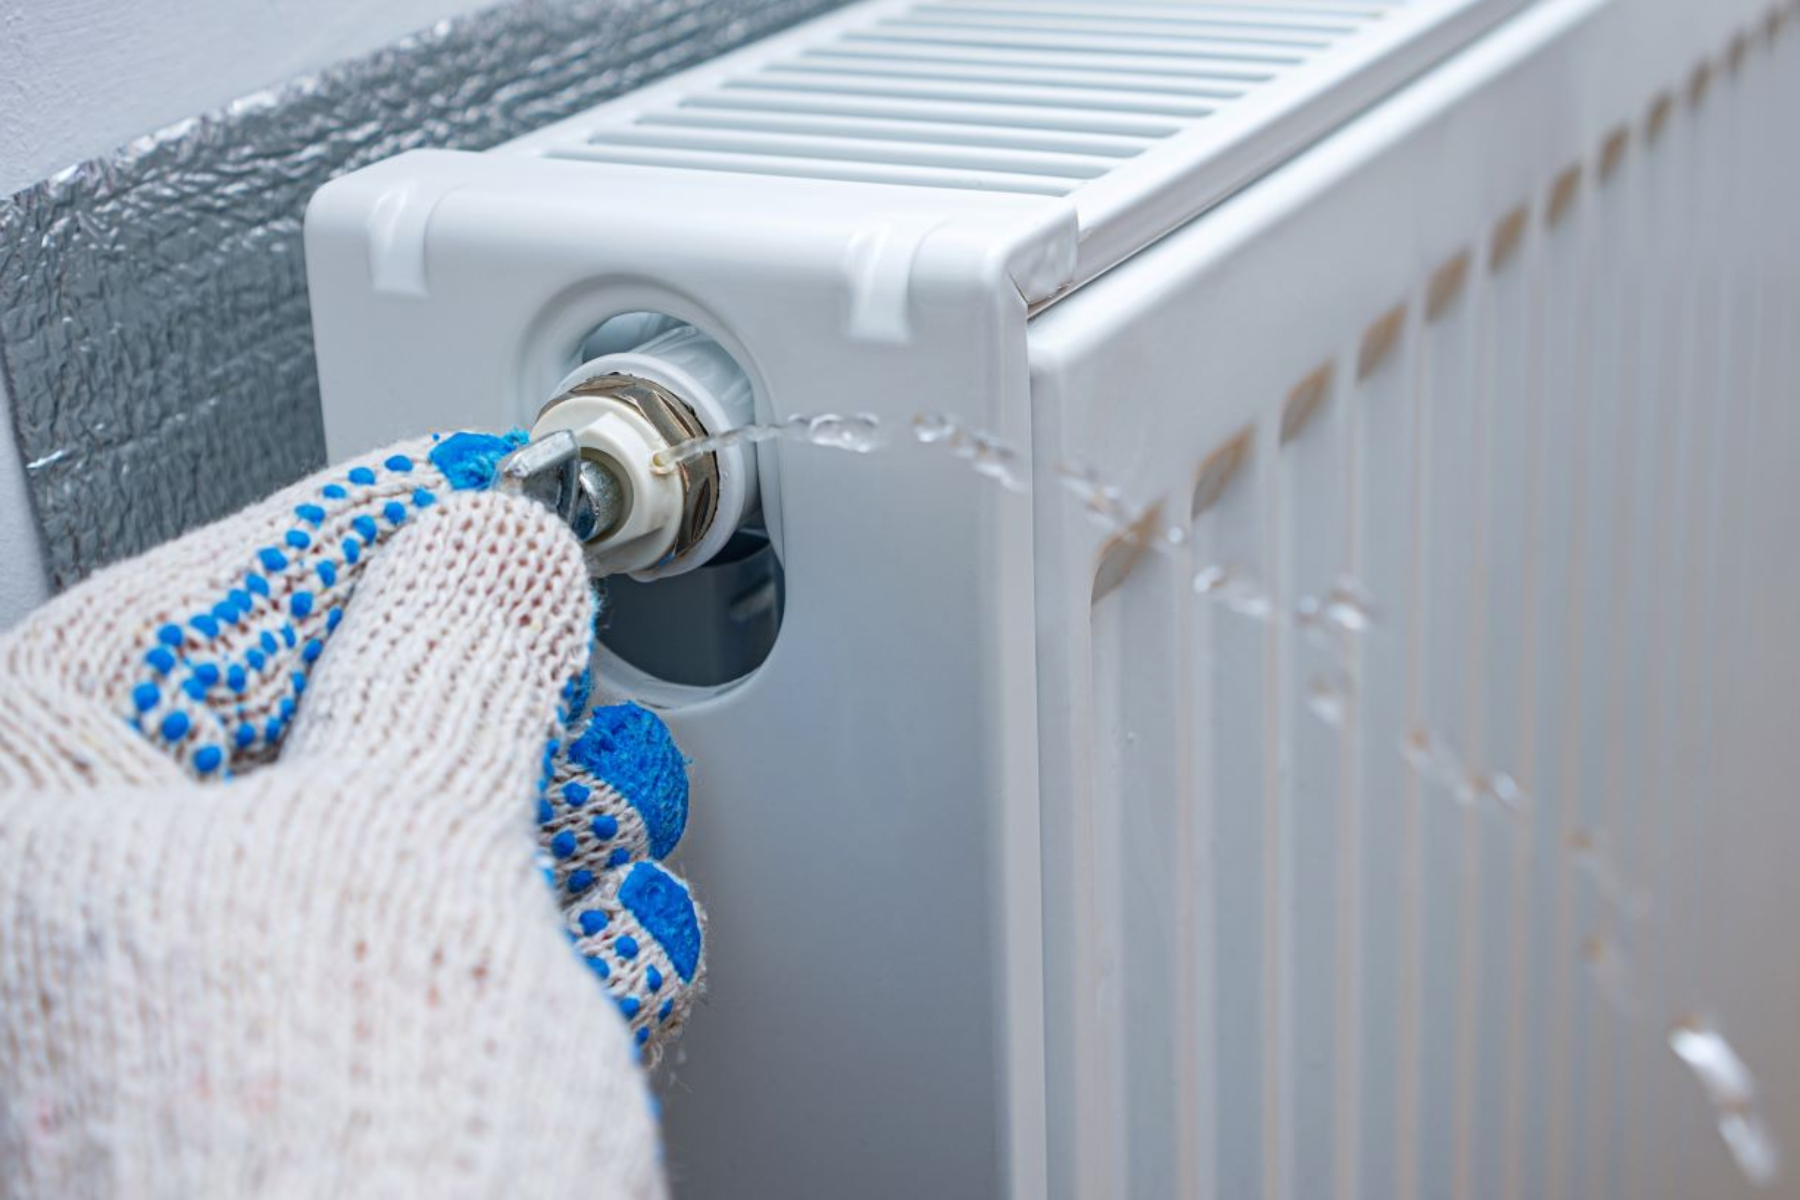
For a sure-fire way to tell though, bleeding a radiator is the method to follow.
Inspect the water colour after your radiators have been bled. Clear water means there is little or no sludge in the radiators. If the water is a little bit brown, sludge is starting to build, so a radiator flush is a good idea. Dark brown water suggests a radiator flush is a top priority job to remove sludge from your radiators as quickly as possible.
What You Need To Remove Sludge From Radiators
To remove sludge from radiators, you will require:
- A bucket
- Towels or sheets to protect your floors
- A pair of adjustable spanners
- A radiator valve/bleed key
- A garden hose
- PFTE tape
Usually, most of the needed items will be hovering around the house somewhere, so you shouldn’t have to worry too much about radiator sludge removal costs.

Radiator Sludge Removal Instructions
Switch off your central heating to begin with and allow your radiator(s) to cool down for one hour minimum. This will make sure that any emerging water doesn’t pose a scalding risk when removing radiator sludge.
Then, lay down your towels or sheets all around the radiator, and take particular care to properly cover the spaces close to the valves ready for your radiator flush.
Turn off the radiator valves next by turning the dial to the off position, before switching to the opposite end of the radiator to locate the lockshield valve. Take the plastic cap off this valve and use your spanner to adjust the valve in a clockwise direction. Keep a track of how many twists were used to switch the valve off to make life easier if you need to balance your heating setup down the line.
Now to drain the radiator, put your bucket beneath your thermostatic radiator valves, and use a spanner on the valve body and the other to free the nut that attaches the valve and the radiator. Use the valve key to open the bleed valve which will enable air to enter the radiator and water to seep out.
Follow the same method to loosen the lockshield valve to allow more water out, and let the bucket gather everything that emerges from the radiator so you can tell if you’ve done an effective radiator sludge removal job. Then tilt the radiator to make sure it is adequately rid of all radiator sludge and other debris. Use the key to close the bleed valve again.
You can flush the radiator at this point – when the water has completely ceased flowing out, remove the radiator from the wall completely and take it to the back yard or garden to flush the system. Give it a good blast with the hose pipe to remove radiator sludge that might still be lingering, and rinse continuously until the dirty water is gone and only clear water is emerging from the radiator. Proper power flushing!
When you’ve completed the process of removing sludge from your radiator, you can connect them back by following these same tips in the opposite order.
Bathroom And Heating Tips From Bathroom Takeaway
As a leading UK bathroom supplies retailer, Bathroom Takeaway can offer expert bathroom and heating tips to help you make the most of your key household appliances and systems.
Shop our brilliant ranges online today, and have a look around our blog section for other helpful advice on making the most of your bathroom and heating devices.
We have advice on Bathroom Cleaning Hacks and How To Prevent Mould In The Bathroom to name only a couple.


